Page 6 of 15 FirstFirst ... 45678 ... LastLast
Results 51 to 60 of 143

Thread: My Century 10A Restoration

  1. #51

    Join Date
    Mar 2004
    Posts
    650

    Re: My Century 10A Restoration

    I would really recommend using the multiple-thread Acme; not only does it take a lot of cranking with the 10- or 20-pitch screws, a little torque on the handle will produce a lot of force on the elevation mechanism and it will be relatively easy to break something if you run past the range of motion for the mechanism.

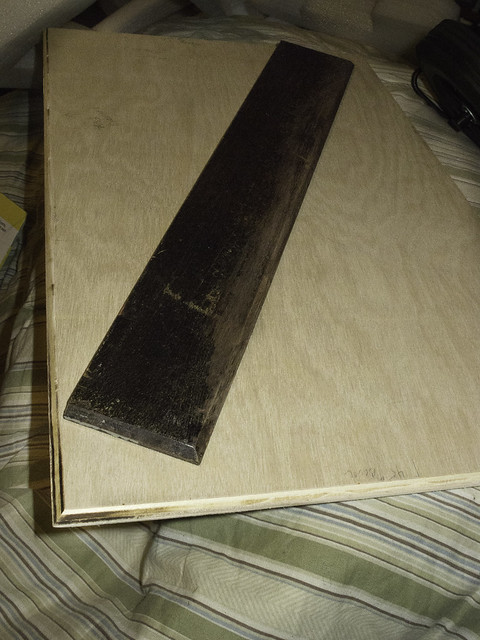
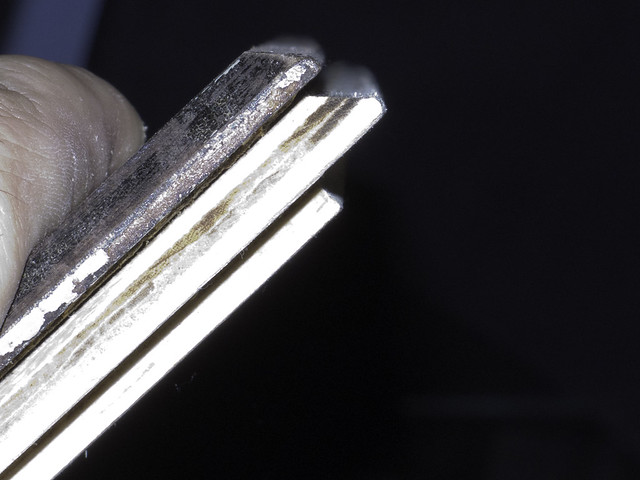
    Last night I posted the McMaster-Carr part numbers for a screw and nut that will match the original in terms of diameter and lead (1/2 inch and 1/4 inch respectively); the only catch would be that the nut has a 15/16-16 thread, which is considered "special". To implement this, you would need access to a tap (such as McMaster-Carr #2595A439 at $61.17 ) and a 7/8 hole in the casting. Any decent machinist should be able to bore the thread, however, and you could also put a 15/16 hole in the bracket and then pin, clamp, or epoxy in the nut. Just bear in mind that the force on the nut is always towards the crank handle when you are considering how to install it.

  2. #52

    Join Date
    Jan 2007
    Location
    Canada
    Posts
    162

    Re: My Century 10A Restoration

    Quote Originally Posted by eddie View Post
    make a few extra. there was a guy on the forum looking for one just a few days ago.
    I am definitely interested too .. to fix one of my stands.

    Steven - looks like you have just become the new "go-to" guy for camera stand repairs

  3. #53

    Join Date
    Jul 2010
    Posts
    424

    Re: My Century 10A Restoration

    I like the lower price of 1/2 thread and the $5 nut. Grease sets are cheap. I have drill bits and taps to install them. All that is left now is to find a fancy handle for the end of my threaded rod.

    Steve PM sent, I want to talk $$$. There are no free rides, I want to pay my fare.

  4. #54

    Join Date
    Jan 2009
    Location
    Denmark
    Posts
    6,257

    Re: My Century 10A Restoration

    b b b - I havn't forgotten you - although I do seem to have deleted you from my PM list in a panic when I was up to 99 messages! Which parts(s) do your need?

    I will increase the size of the Bronze central casting to allow for a few more mms so there is room for mounting the standard round Acme nut(s) with sturdy screws.
    Will be checking the qualities of the investment mix and the 10% aluminium bronze this weekend before doing the job proper.

  5. #55

    Join Date
    Jan 2009
    Location
    Denmark
    Posts
    6,257

    Re: My Century 10A Restoration

    These are the two versions of the central drive nut for the tilt.
    The left-hand is the first version - for those who can cut the original thread for the threaded axle.
    The second is for those who wish to use the available 1/2 - 10 Acme single nut (or similar) with dimensions increased where necessay to ensure a solid construction.
    A diagram showing how a twin pair - with grease pocket! - could be mounted in this, just in case anyone is really aiming to use his Century stand a lot. The pair would have to be mounted with the threaded rod in position, of course.

  6. #56

    Join Date
    Jul 2010
    Posts
    424

    Re: My Century 10A Restoration

    I'll be needing the one that uses the 1/2 acme threaded rod and nut. Thanks

  7. #57

    Join Date
    Jul 2010
    Posts
    424

    Re: My Century 10A Restoration

    Hello Steve, I hope all is well in Denmark. I am making this post to see if there is any news to report on your progress. I am so excited to be able to complete my stand. I am almost ready to start the angle adjustment portion. If you need $$$ for materials please let me know. I will gladly send you some. Thanks Steve, AKf

  8. #58

    Join Date
    Jan 2009
    Location
    Denmark
    Posts
    6,257

    Re: My Century 10A Restoration

    What I need mostly is stable dry weather for a few days!
    The two forms - "threaded" drive nut and the frontmost angle - are ready for casting.
    The second group - large back angle piece and another drive nut - must wait until I have confirmed that the refractory mix of the mold and the bronze alloy are proven OK in practice!

  9. #59

    Join Date
    Jul 2010
    Posts
    424

    Re: My Century 10A Restoration

    Sounds great.

    I made more progress on the stand. I made the new front panel and lower crossbar. Still need to put in some lower blocks under the lower crossbar.

    I wanted to use hardwood for the front panel. Every shop I went to wanted Too much money to glue up 3/4 stock and sand it down to 3/8" ($150 and up for a little board 17.5x20x3/8 in cherry.) Gluing up hardwood panels is easy, it takes expensive machines to sand it to the proper thickness.


    I used a thicker laminated material (voids filled and sanded) and made a deeper rear lip. It fits nice and tight so it keeps things square and the finished panel looks identical as far as installed profile of the OEM one.

    I may contact cement some laminate edge banding on the bevel of the fascia if the layers of the plywood bother me to much when I stain it. Each layer will be dark or light. I plan to fill it and sand it so the edge grain wont soak up so much stain.


    So here is the state of things, (table is done) removed to refinish the rest of the stand.

    The new panel ( old kicked out and broken one on to)

    The edge profile of the Old and new, notice ho much deeper my recess is. I hope that with wood glue ans some headless pins it should be stronger than OEM.


    Here is the bottom rail all fitted glued and fastened into place (need little blocks under for added strength). OEM had a dado for the cross brace. Again it was kicked out to rob my stand of the adjustment mech. Mean men, J/K

    Here it the front panel installed (glued and headless 1" pins as fasteners)


    Now I will start to color match and condition all of the other wood. Finish preparing the metal for a textured black paint.

    I was wondering if someone can take a close up fascia of the placard (Master studio one) with a digi snapper and send me a large raw file of it.

    I plan to paint a replica of the little plate but much larger with some OLD school pin striping and gold leaf accents, then clear over it. I know it wont be OEM, but it will look cool, and old school. My OLD man was a sign painter and I learned a little about how to transfer artwork to anything and use gold leaf with spray adhesive and a stencil.

    Who ever has the correct placard and willing to take the shot I need, please pm me so I can give you my email to send me the raw file. I really appreciate it. Please use a tripod and be level in front of it so I dont have to deal with distortion.


    And Thanks Steve, We are getting real close buddy. I am starting to get excited. Still looking for a nice handle for the 1/2 acme thread. But I will find something.

  10. #60

    Join Date
    Jan 2009
    Location
    Denmark
    Posts
    6,257

    Re: My Century 10A Restoration

    I thought I said that I will cast that too. It is much easier than all the others!
    It looks like the attachment to the Acme thread and the wooden handle is done by an ordinary thread that has treated like a rivet.

Similar Threads

  1. Century 10A and Semi-Centennial Stand 1A
    By dlin in forum Cameras & Camera Accessories
    Replies: 7
    Last Post: 27-May-2010, 03:33
  2. 4x5 reducing back for a Century 10A or make my own....?
    By Mattk in forum Cameras & Camera Accessories
    Replies: 0
    Last Post: 30-Apr-2010, 05:07

Bookmarks

Posting Permissions

  • You may not post new threads
  • You may not post replies
  • You may not post attachments
  • You may not edit your posts
  •