Thanks; I was really clowning about and I wish for a lens with a wider aperture as I do find the background a bit busy as it is, but I'm going to try and keep my gear acquisition syndrome in check a bit and work with what I've got

Your approach sounds a lot more structured than mine, which really is haphazard and doesn't involve any measurement whatsoever. Nevertheless, I recognize what you say about the shoulder, which can be a bit hard to control with x-ray film. The same with the toe, which is where the problem seems to lie with retaining shadow detail. My current approach is to try and cram as much of the scene as possible into the straight line of the curve (without doing any formal measurements, mind you, so I'm basically winging it) by exposing quite liberally and shortening development. In doing so, I also ran into the problem of shadow detail disappearing, which makes sense given the contraction approach, which would necessitate rating the film at an even lower speed. This would result in rating it as low as ISO25 (or even less in high contrast situations!) and working with very short development times and high dilutions, which have problems of their own (accurate timing, developer exhausting after a single sheet).
That's why I now try and combine contraction with pre-flashing to find an approach that is robust and reliable enough for my sloppy workflow. The portrait above is really the first real test (apart from a still life at home) and it seems to work as well as I'd hope for; there's plenty of shadow detail in the black jeans that I would have never had without pre-flashing.
My pre-flashing technique is pretty straightforward. I took a random household item that was neutral in color, opaque and would fit over the lens. I ended up using a paper cupcake shell, but a white plastic or styrofoam cup would have worked as well, just as a piece fine and light cloth or a bit of frosted (plexi)glass. I guess just about anything should be usable as long as stray light falling onto the lens can be blocked out. I then held the cupcake shell over the lens of my dslr (which usually I use as a light meter, as it has a spot meter function) and took a reading at ISO 100 (it won't go any lower) pointing the camera at the subject from the position of the LF camera, making sure not to cast a shadow onto the cupcake shell. Given the contrast of the scene (moderate, at least the relevant bits), I rated the film at about ISO 80, so I added about 1/3 stop to the reading, which would result in a zone V exposure. I opted to pre-flash for zone II - partly because my initial test showed that there was very little benefit to picking zone III (just added density and therefore a shorter part of the film's straight curve that could be used) and pre-flashing to zone I just doesn't make much of a difference, and partly because that's the general advice I gathered from Adams' The Negative. Subtracting 3 stops from the reading yielded an exposure of about 1/10 at f/9. This was with one stop added for the bellows draw, as I had already positioned and (roughly) focused the LF camera at this point. I put the cupcake shell over the LF lens, put the film holder in, and exposed the sheet at the calculated exposure. Apart from building some base density, the process of measuring and exposing several sheets of film through a cupcake holder of course yielded sufficient hilarity with my subject so that getting her to hold still for the actual exposure was a bit of a challenge.
The one thing I'm not happy with is that I have the impression (but I'm not entirely sure) that the upper half of the image is a bit more dense and less contrasty than the lower half. I wonder if pre-flashing has anything to do with it, but next time I'm going to try a flat pre-flash implement. Then again, it might just as well have been the lighting of the scene that was the cause of this. Or uneven development. With my haphazard approach, it's hard to be sure of anything

Originally Posted by Randy


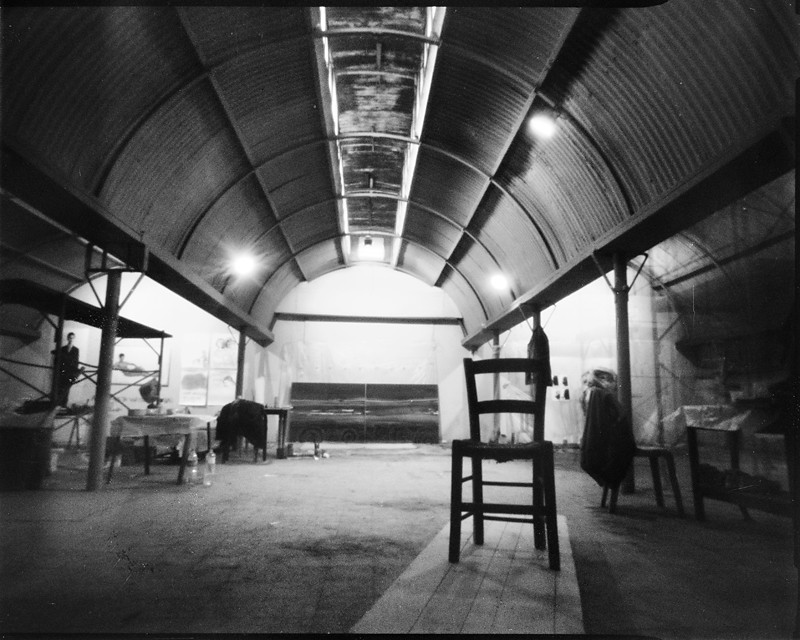
2015-11-18-0003www by Sergei Rodionov, on Flickr
 Posting Permissions

 Reply With Quote
Bookmarks