Go look through the emulsion section of the APUG forum. Lot of good info there.
I've been doing this for a while now and have the process down. I use the basic recipe on unblinkingeye.com. Very rewarding. You'll want to figure out how to test for ISO speed of the emulsion. I do this, and generated an EV / exposure conversion chart in MS Excel for the emulsion's ISO so I can use my iphone light meter app out in the field. I print the chart on a piece of paper and take it with me. So if I meter EV 11, then I just look at my sheet to see what exposure for the f/# I want to use. In general, the difference in spectral response between the emulsion and phone camera can be corrected in the darkroom.
The attached photo is of a 16"x20" silver gelatin print enlarged from a 4"x5" plate. It hangs on our living room wall. The photog at work got wind of what I was doing, so now there's one hanging up in a hallway there along with a short blurb on the process. Every so often someone stops me and says it's pretty cool.

Btw, I divvy up and store the emulsion in in my beer fridge prior to coating. I stay so busy that I don't get to use the emulsion right away. It keeps for several months if the equipment is sanitized (no preservatives added).
I'll reiterate about the cold slab. Make sure it's level! I use a machinist's bubble level. You'll know the emulsion is set because there will be a subtle "wrinkling" or texture to the emulsion surface when you view the reflection of your safelight off the plate surface. When the emulsion hasn't yet set, it's smooth as glass. When you see this texture you can move it off the slab. Should only take a few minutes to set...depends on how diluted the gelatin is (avoid over-dilution by keeping the washing water as cold as possible).
I use a 10cc syringe to apply the emulsion to the plate. Works well for me.


Originally Posted by DHodson


 Reply With Quote
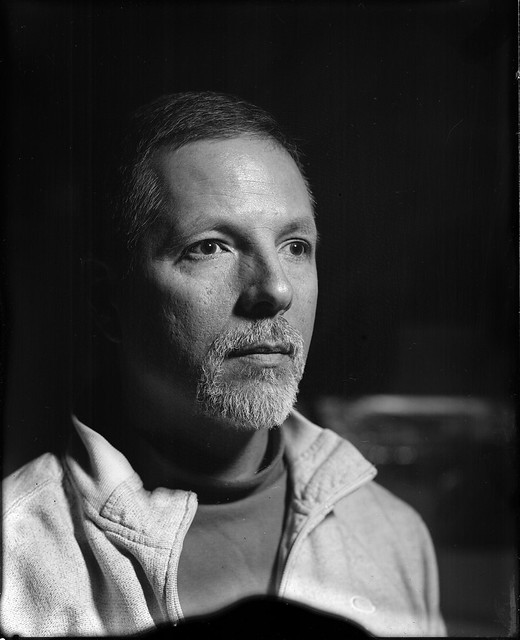


Bookmarks