


Most of you who work with these have probably picked your contact printing frame(s) up second hand or even new. When I was looking for one last year, I couldn't find any for a reasonable price, so I decided to construct one myself. I'm not a carpenter, nor a very proficient DIY-er, and I don't have any power tools either. So I wanted to keep it simple, but also wanted to have something that would be affordable, easy to use, to exert enough pressure onto the negative/print sandwich to keep even the most curly carbon tissue flat and I definitely wanted to use a type of glass that would be easy and cheap to replace in case it broke.
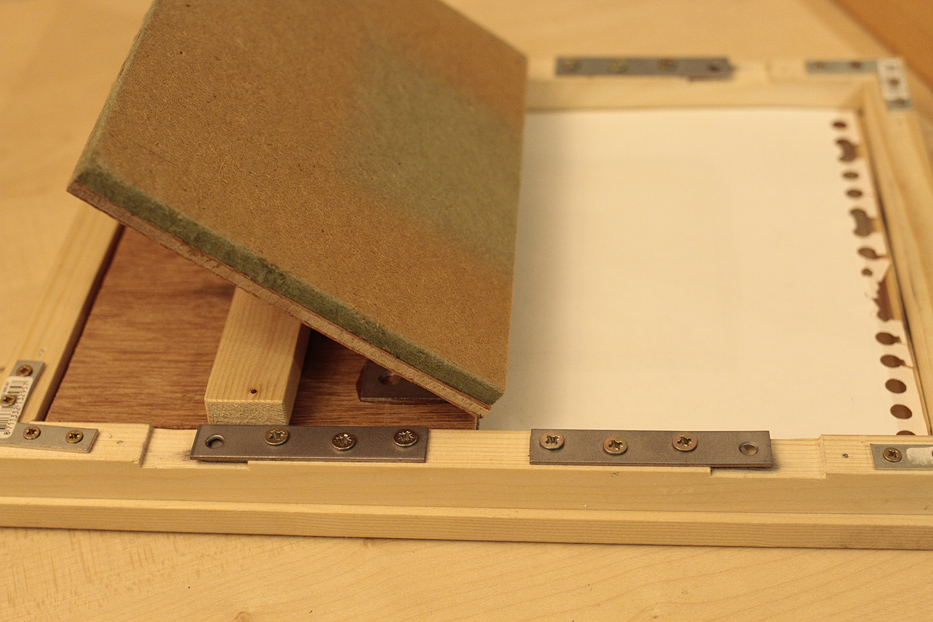
So I used the glass of a dirt cheap A4-sized (slightly larger than 8x10") photo frame (ca. $2) as a starting point. I constructed a basic frame with a recessed ledge on which the glass lies. The back of the frame lies on the glass and the pressure is distributed evenly all over the glass and most importantly also on the ledge in which the glass lies. For the back, I used simple 3-layer plywood that I had lying around. I also decided it would be convenient to have a hinged back for POP processes, so I cut the back in half and glued on (composite glue) some hinges.
Initially I tried the frame with the plywood back as it is, but I found it's very easy to break the glass as the pressure doesn't distribute perfectly evenly. Not an issue with normal paper, but it wouldn't withstand the pressure needed to keep carbon tissue flat. So I glued some fibrous material they use underneath laminate floors onto the back. Note: this works OK, but some fibers tend to dislodge and end up on the negatives, prints or the glass, so it's not really ideal, but perfectly workable.
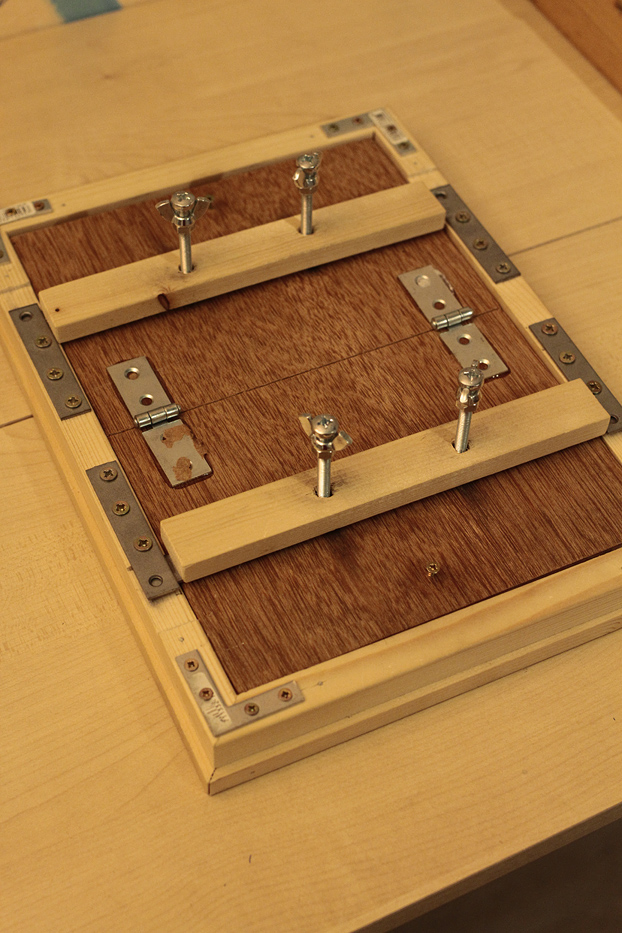
The pressure system relies on 4 lengths of threaded wire that are attached to two pressure bars on the back of the frame. See images for details. I found this way it's very easy to build exactly the right amount of pressure all across the sandwich for whatever printing purpose. This system was inspired by a page I found online, but I presently cannot find it. However, the concept was proudly stolen, I'll gladly admit to that. In the original frame I borrowed this idea from I remember the pressure bars were attached to the frame using hinges, so you wouldn't have to remove them entirely when putting prints into and taking them out of the frame, but I haven't found this to be a hassle anyway.
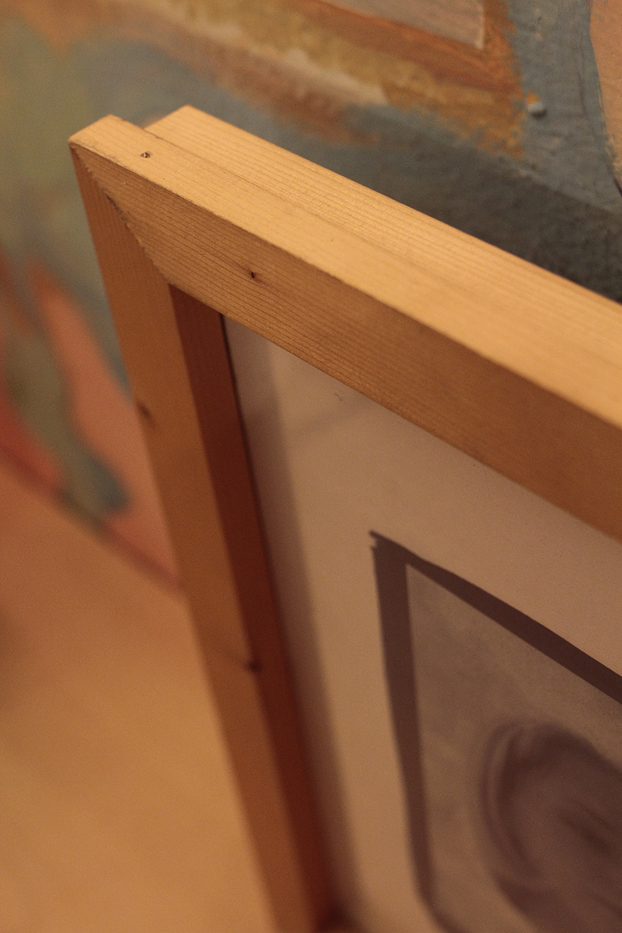
I've been using this frame for nearly a year now and it's proven to be very reliable and effective. Total cost I don't remember, but somewhere around $25 in parts from a local DIY store.
Some photos say more than the text above. I hope they may serve as an inspiration for those who prefer to construct their own frame for whatever reason. There are many things to improve and vary on this frame, but as it is, it works like a charm. Ignore the poor white balance in the pics; they were quick snaps under difficult lighting.


 Reply With Quote


Bookmarks