


Here is how I have done it, very simply.
Materials: 3mm MDF board, aluminium sheet in 0,5mm and 1mm, glue, a small computer screw, cardboard paper
Tools: small vice, small metal file, snips, screwdriver
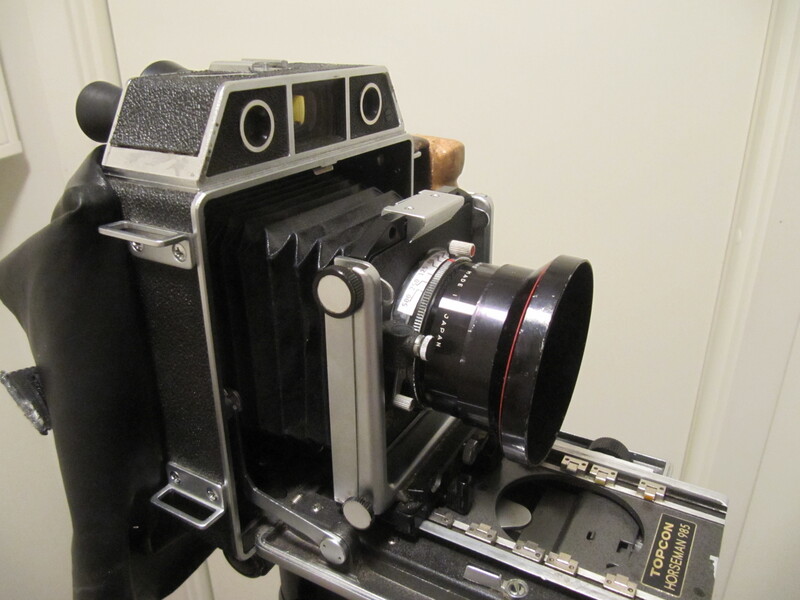
as reminder the Koni-Omega Rapid is a 6x7 camera, with Konica-Hexanon lenses in a custom mount:
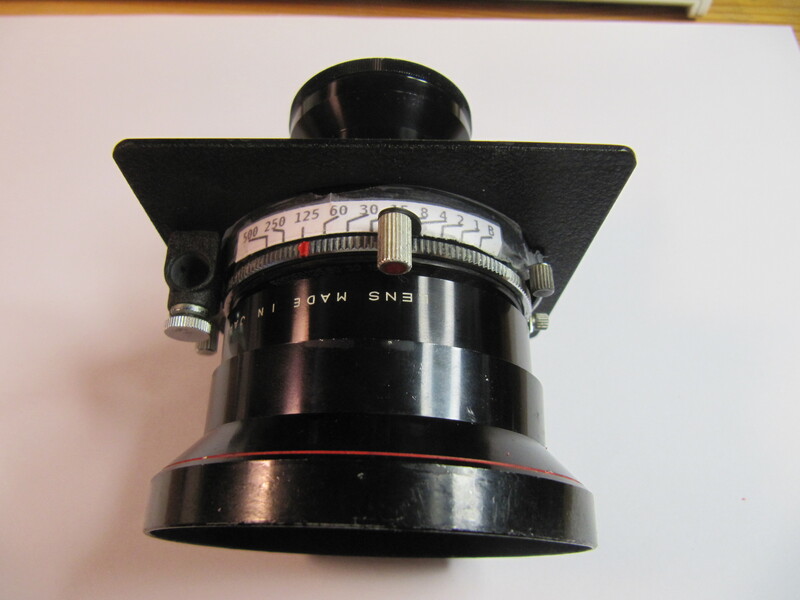
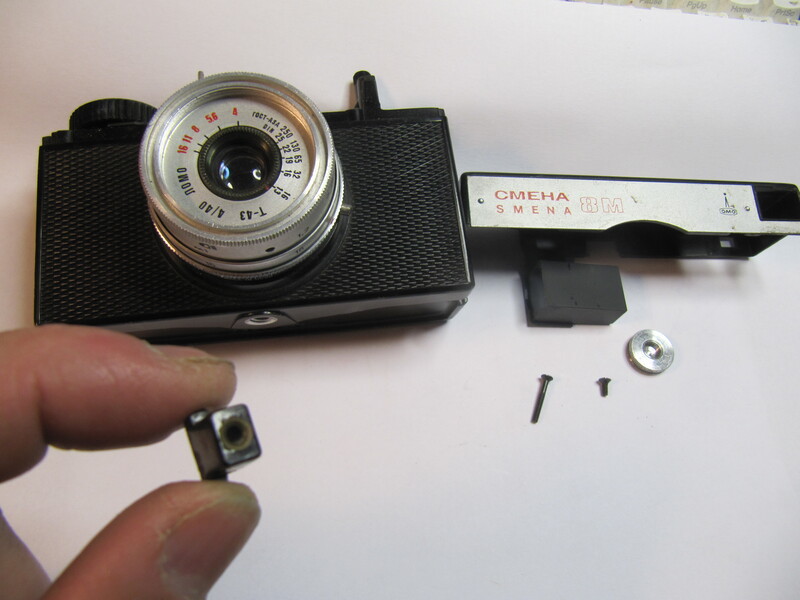
some time I bought the 58mm, in order to try and compare with the 67mm Topcor of the Horseman 6x9. The lens came with its shutter, I just unscrew the cells and screws them on a Seiko 0 shutter on Horseman board. Only tweak was to print speeds scale to glue on the outer of the shutter and put a point of red paint as a mark. This:
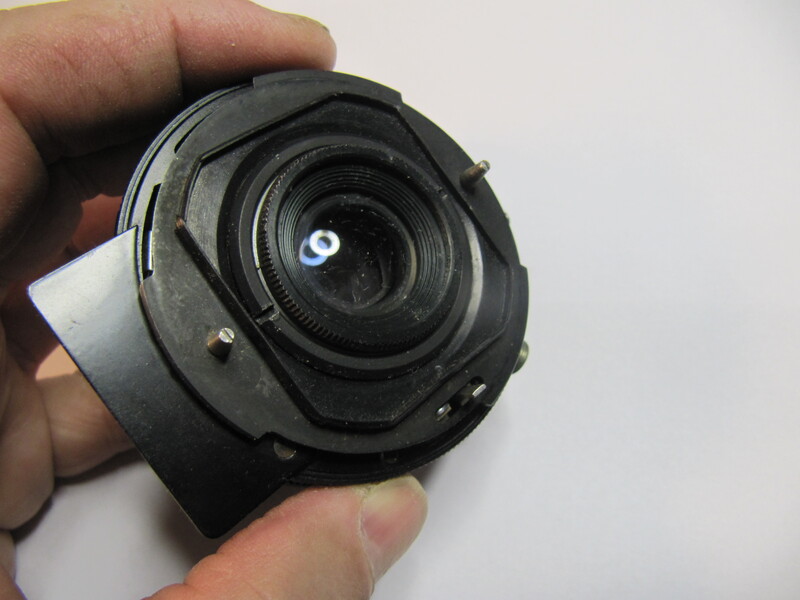
so I was left with the Koni-Omega shutter. No plans to use it on a Koni-Omega camera. It is a regular size 0, and probably was a Seiko or a Copal, a japanese one anyway.
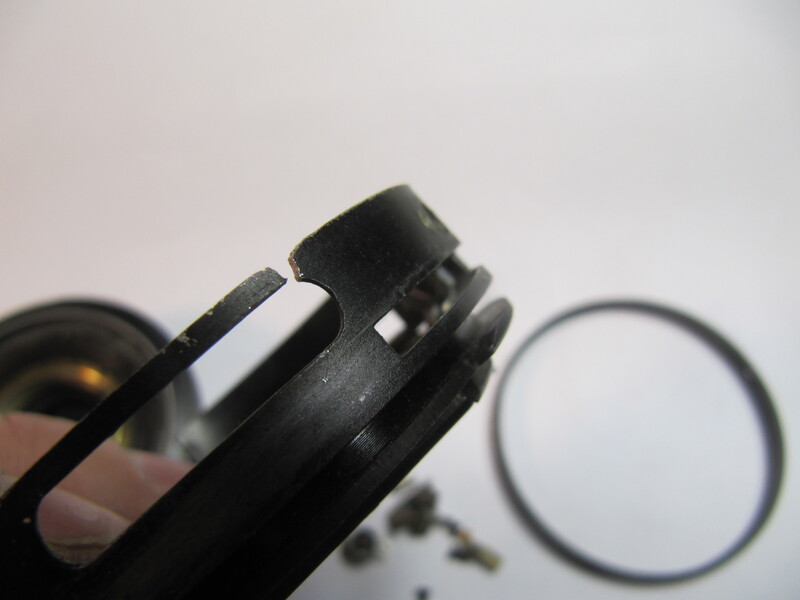
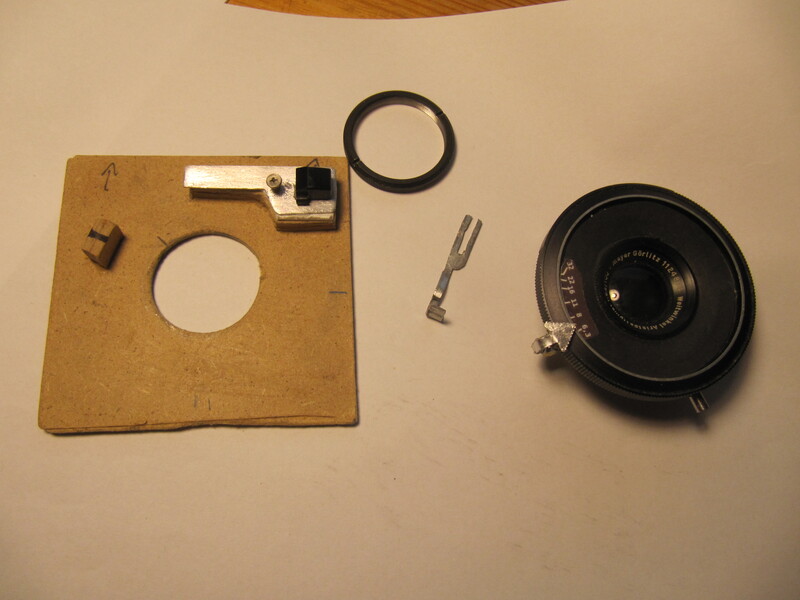
The mount to camera body is easy to remove:
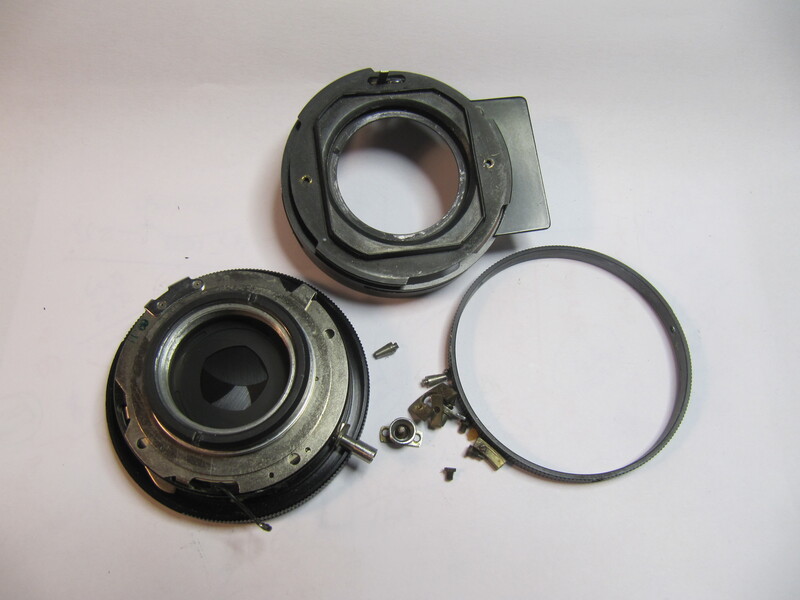
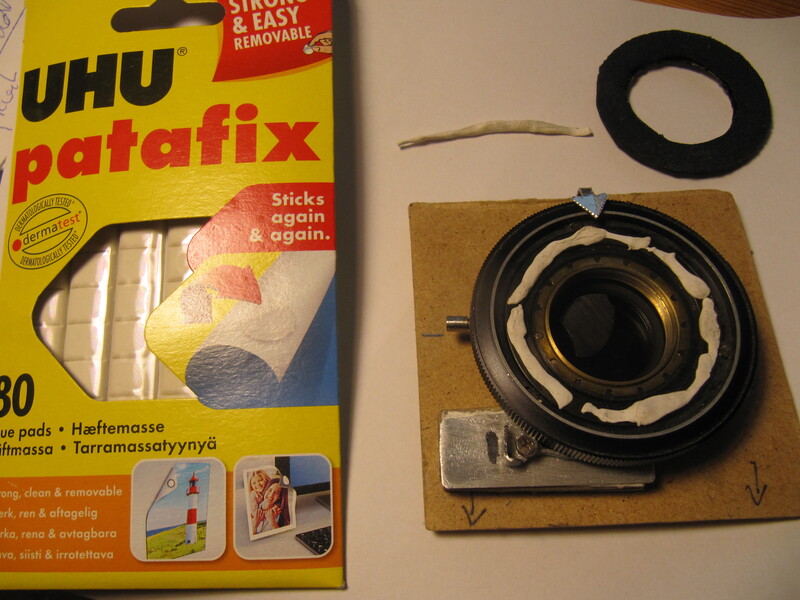
well i had to file a bit of metal in order to set the cocking lever free, yet it's non-critical in case of reassembly, but as said I don't plan to reuse it. There is certainly a way to do this cleanly but I had no time to find out:
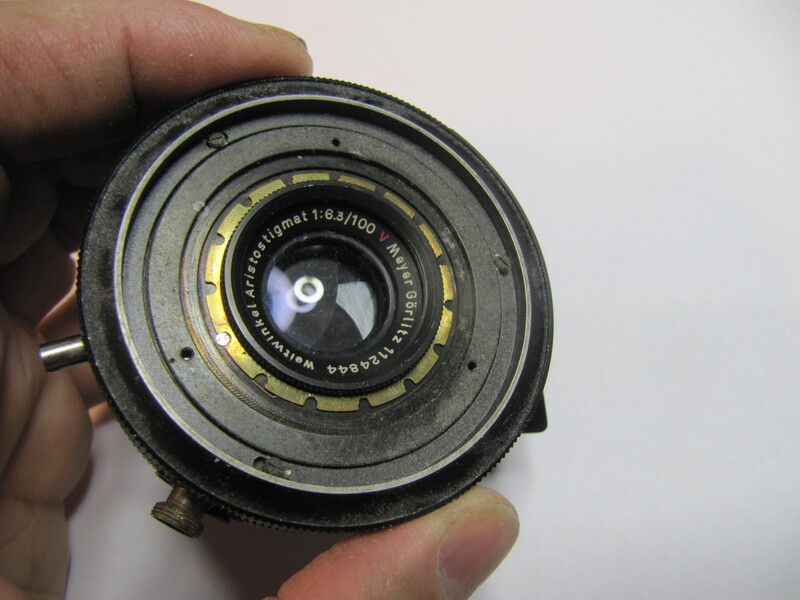
this is the front of the shutter, the wide body of the Konica-Hexanon does cover it when screwed on. Here there's the tiny front cell of an Aristostigmat 100mm in it:
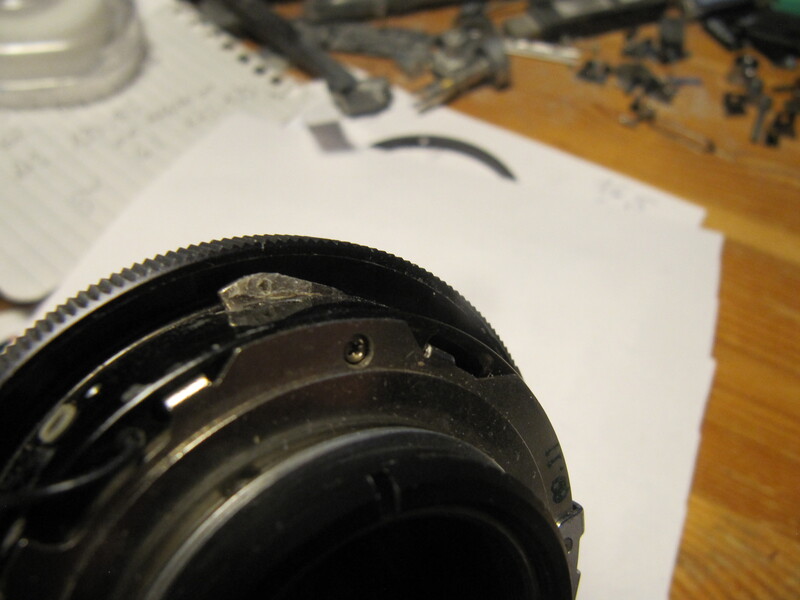
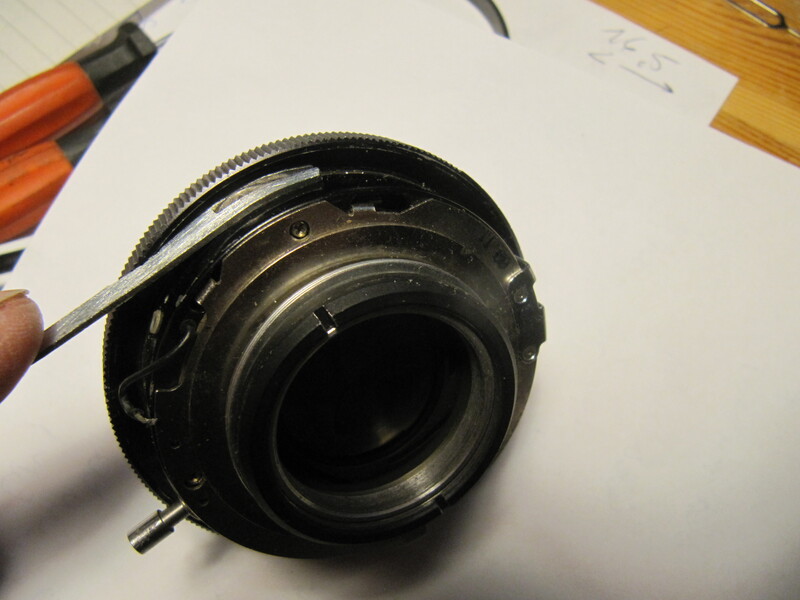
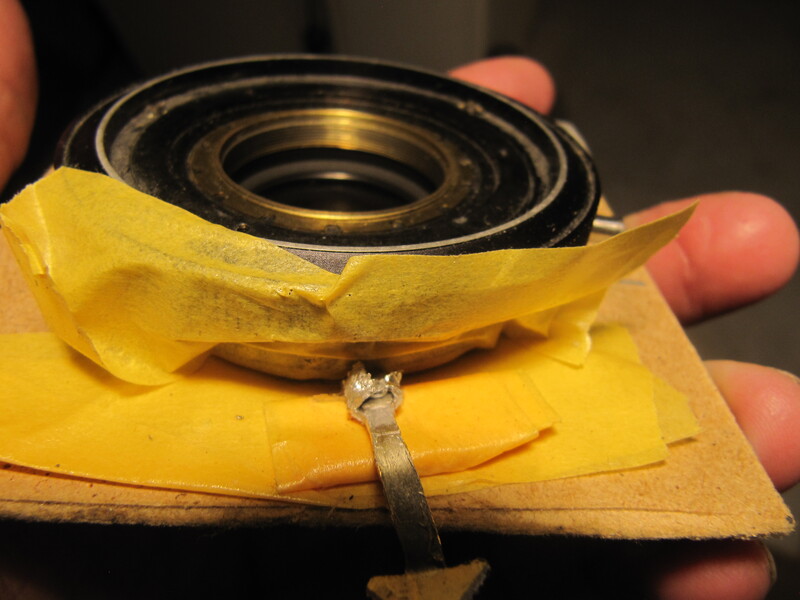
the point with this shutter is the trigger it can't be reached and activated when mounted on a lens board. And there is no cable release socket, as this was provided on the camera body.
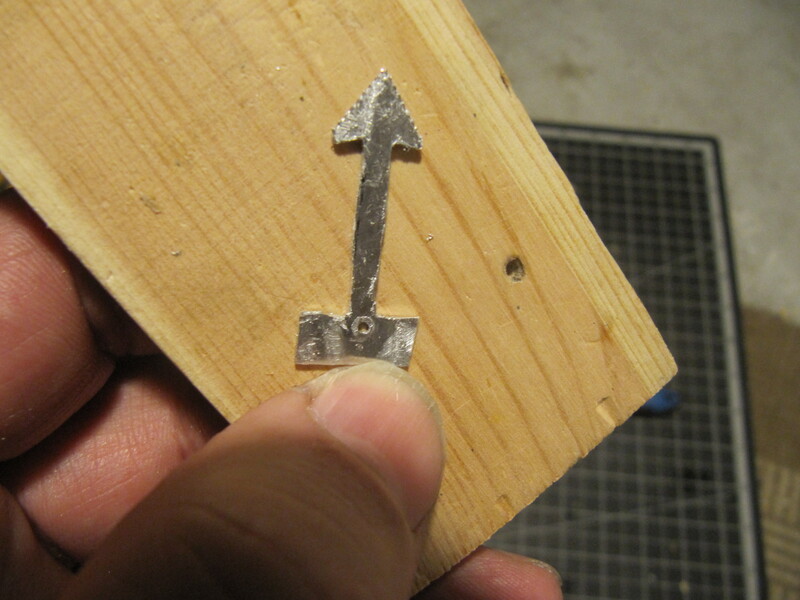
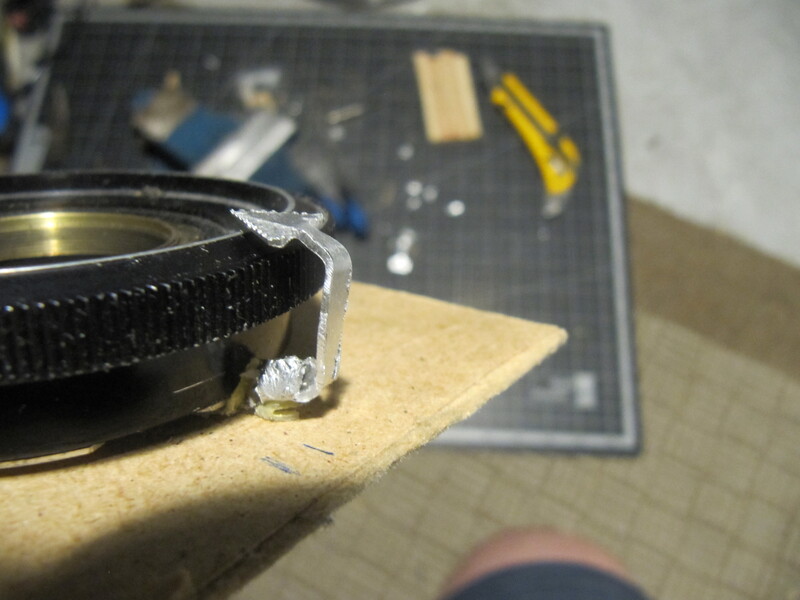
The idea I had was of course to make a small fork to slide there. I cut a little bit of 1mm aluminium sheet and filed the shape, then the required little bend.
a short video about the idea and "prototyping":
---
as there's a limit in pictures by comment, next step in next post.


 Reply With Quote
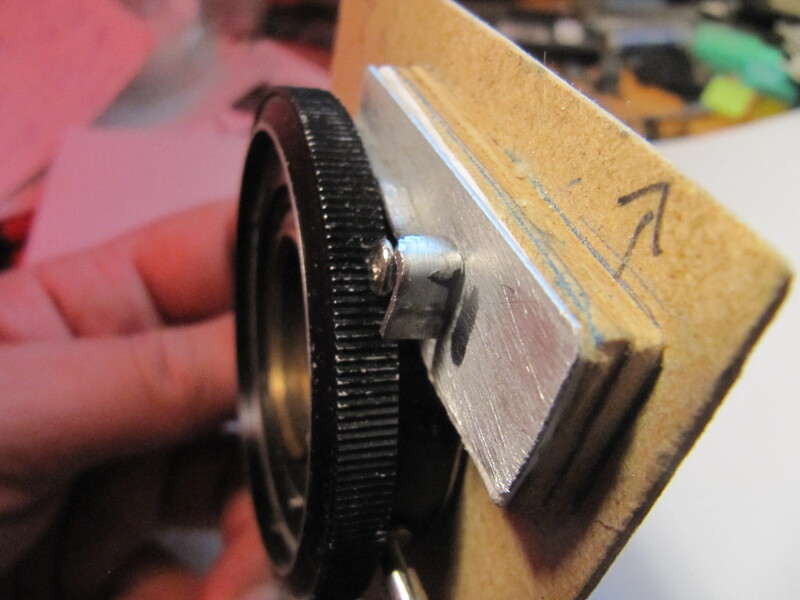


Bookmarks