


Thought I'd make a post after almost ripping my brains out over profiling my scanner.
This seems to be the easiest way to make a scanner profile. I'm using a 6x7 Hutchcolor target, but this should work for any target.
Step 1 - Scanning the Target:
Scan the target with ZERO settings applied in your scanning software. This means disabling color management and making sure that no sharpening is applied, or color/levels/curves adjustments. We want to get a scan of the target exactly as the scanner sees it.
You don't need to scan it at a very high resolution, around 1000 pixels on the long edge is plenty.
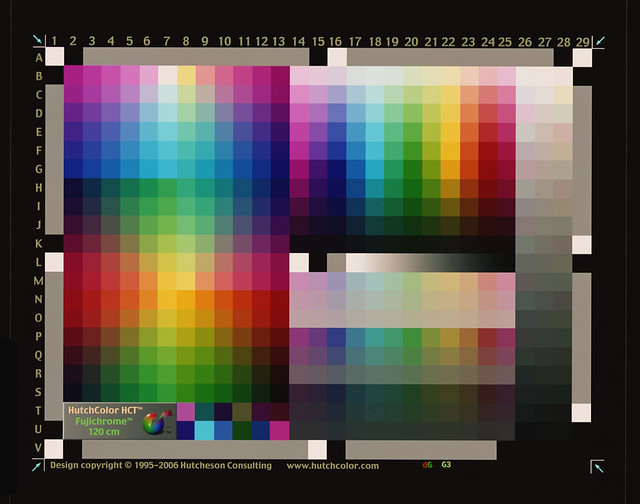
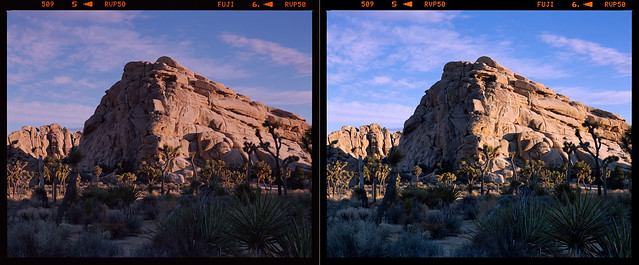
My scan looks like this:
Step 2: - Dustspotting and Cropping the Target Scan:
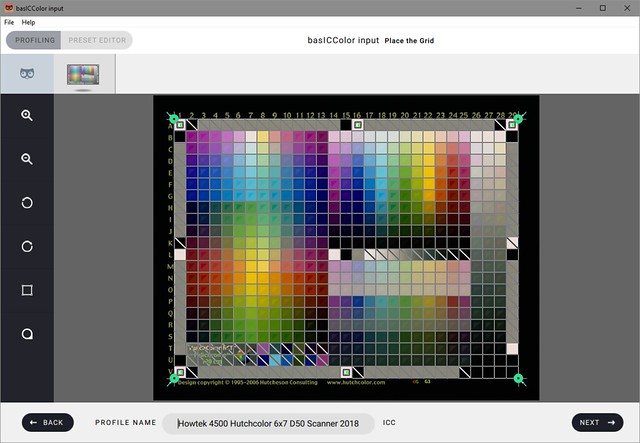
First crop the target, making sure that it is perfectly straight. I find the straighten tool in Photoshop works best for this.
Carefully using the clone stamp tool, remove any dust from the target squares. Don't worry about anything around the edges of the squares as the software to profile uses only the center 50%.
Should look similar to this after you're finished:
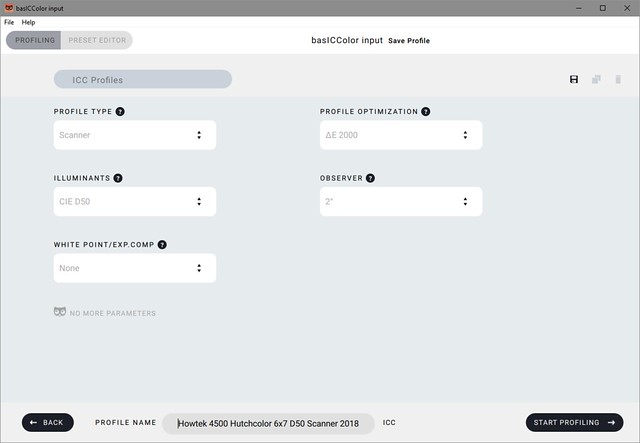
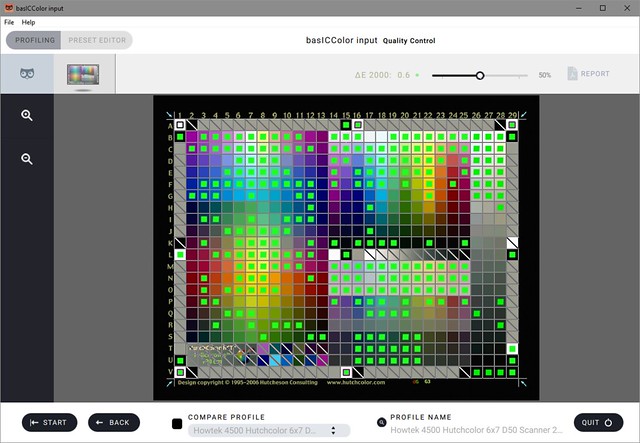
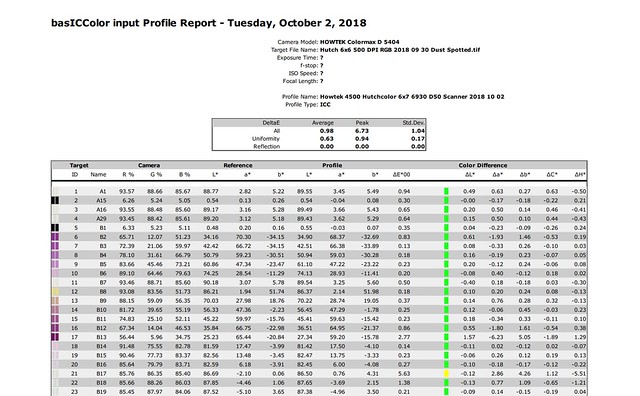
Step 3: - Creating the Scanner Profile:
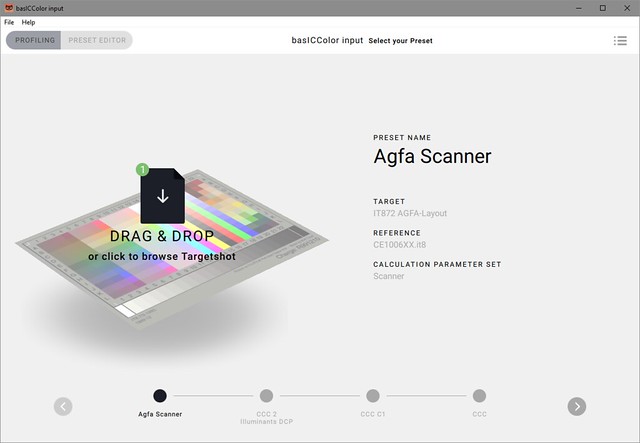
This is the longest step. I find the best software for creating scanner profiles is basICColor Input, and although it's not cheap I think it's very worth the price. They do offer a 14 day free trial for anyone who just wants to create a profile once.
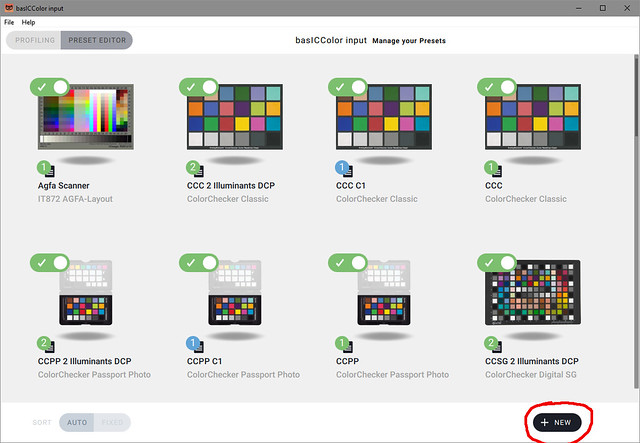
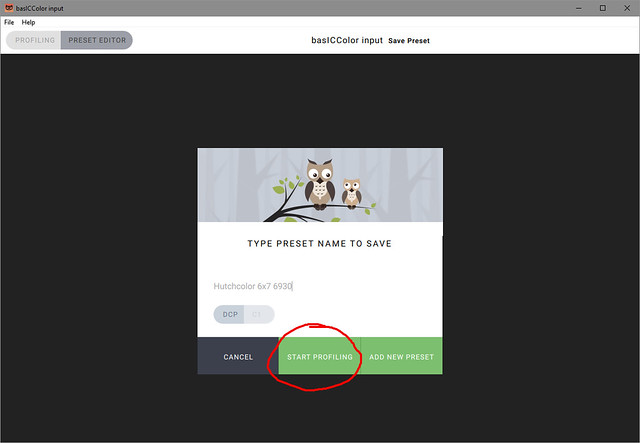
First we need to create a new preset for whatever target you are using.
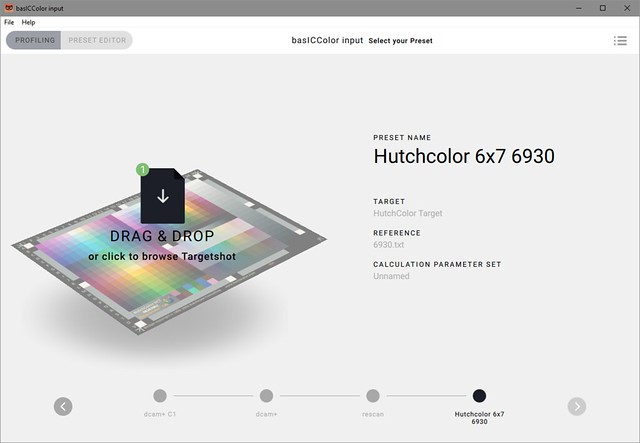
Once we open the program it should look similar to this:
To create the new preset, click on the "Preset Editor" button, then click "New"


 Reply With Quote


Bookmarks