Hi there,
I and Derin Korman have been making quite a number of tests during the last week and we have reached some really nice conclusions about the use of Newcolor (Mac) for scanning both negatives and transparencies.
Basically, as many of your know, one of the problems of Newcolor is (was?) the impossibility to scan without a certain amount of sharpening applied "behind your back". On the other hand, many of us want to scan as raw as possible, making conversions (inversions for negatives) later on on Photoshop.
Well, basically there is a workaround way to "fool" Newcolor.
The instructions to do so are:
1) Make custom profiles for positives. Hutch target recommended.
2) In Scan - Special Functions - Sharpening, make sure you have NO Sharpening for NEGATIVES. This is the important bit. newcolor does not apply ANY sharpening for NEGATIVES when you select here no sharpening at all. However, even if you click on the box "reduced sharpening for transparencies", you will always get a certain amount... Read further and you will understand the implications of this.
2) Scan negatives by selecting "negative" in the scan setup, but making sure you have NOT activated the automatic button (A button) in the base densities tab of the color corrections assistance BEFORE you launch the prescan. You should have values of 0 for highlights and 5 for shadows.
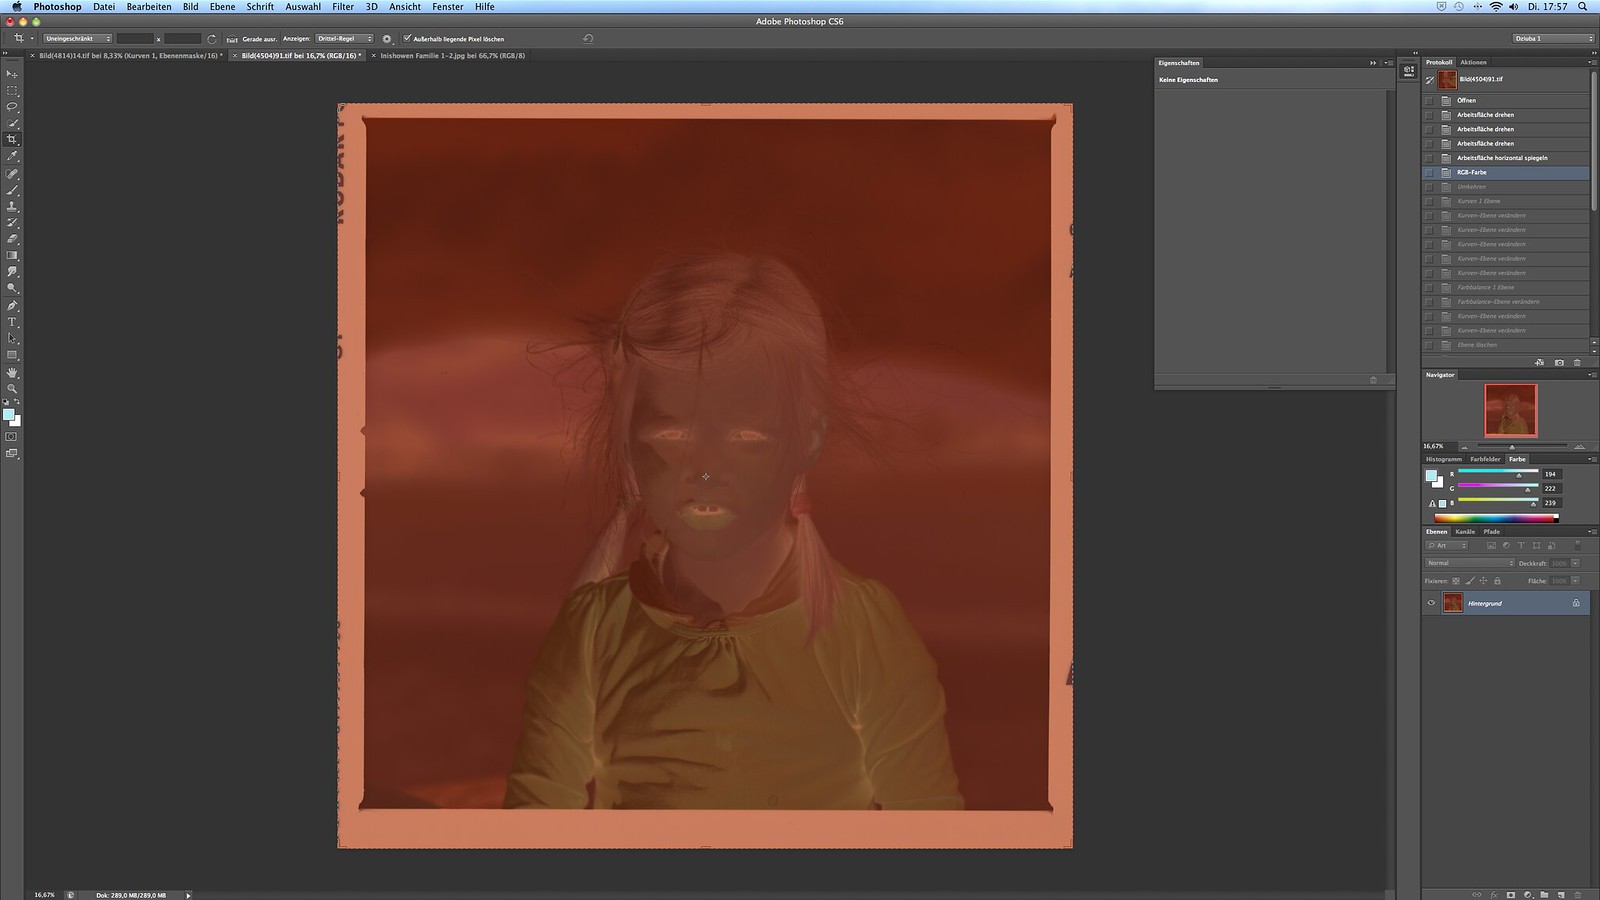
3) When the pre-scan is finished, even if you selected negative in the setup, the image will appear as positive. That means the transparency will look as you see it on the light box, and color neg un-inverted. This is ok.
4) Launch the scan, again, without touching that A button and making sure the values are at 0 and 5.
Now, the tricky part:
- Both for scanning negs or positives, make sure you have included the custom profile made for POSITIVES in the input RGB tab of Color Management>Profile Manager.
- Idem for the tab Scanner under the same menu Profile Manager. The trick thing: make sure the profile of the scanner for NEGATIVES (this is the trick) points to the POSITIVE custom made profile you introduced in the RGB input.
If you do this, the machine will scan without making any inversion (even if we selected Negative as setup), therefore giving us the possibility of doing that on PS. As Negative has been selected, the sharpening is actually ZERO. As the profile for POSITIVE as been introduced for the negative material, the correct profile will be applied when scanning "as is" without any inversion. The resulting colors will be spot on.
As a side note, we realized as many other members of the group that when scanning the Hutch target with Newcolor with "raw" values of Base density 0 and 5 and correction 0, some partial almost-clipping in the shadows took place. We were scanning the target by using Scanopen and saving the scan, and realized that from this configuration changing the values of Color Correction assistance, curves, etc, gave no difference to the results. Basically, from scanopen Newcolor gives a "raw" scan of the target (or at least as raw as possible), and the ONLY parameters that change the result are the Base density values and the correction that lies below. As we could not get rid of the clipping, we saved several scans of the target with different values of Correction. We realized the optimum results were obtained with the profile generated with correction +5. All my scans show really good detail in the shadows, and basically the amount of clipping in the Hutch target scanned with the profile becomes marginal, almost at the level of scanner noise.
I will be testing with real scans during the next months, but we think we might have found the way to use newcolor giving great colors, no sharpening at all, great focusing every time and ease of use.
I hope this might be of help to some of you!
I really thank Derin for his time and help, without which I would be still getting horrible bandings, noisy scans and grain sharpened looking like golf balls. He is such a wonderful guy.
cheers,
rafael


 Reply With Quote


Bookmarks