


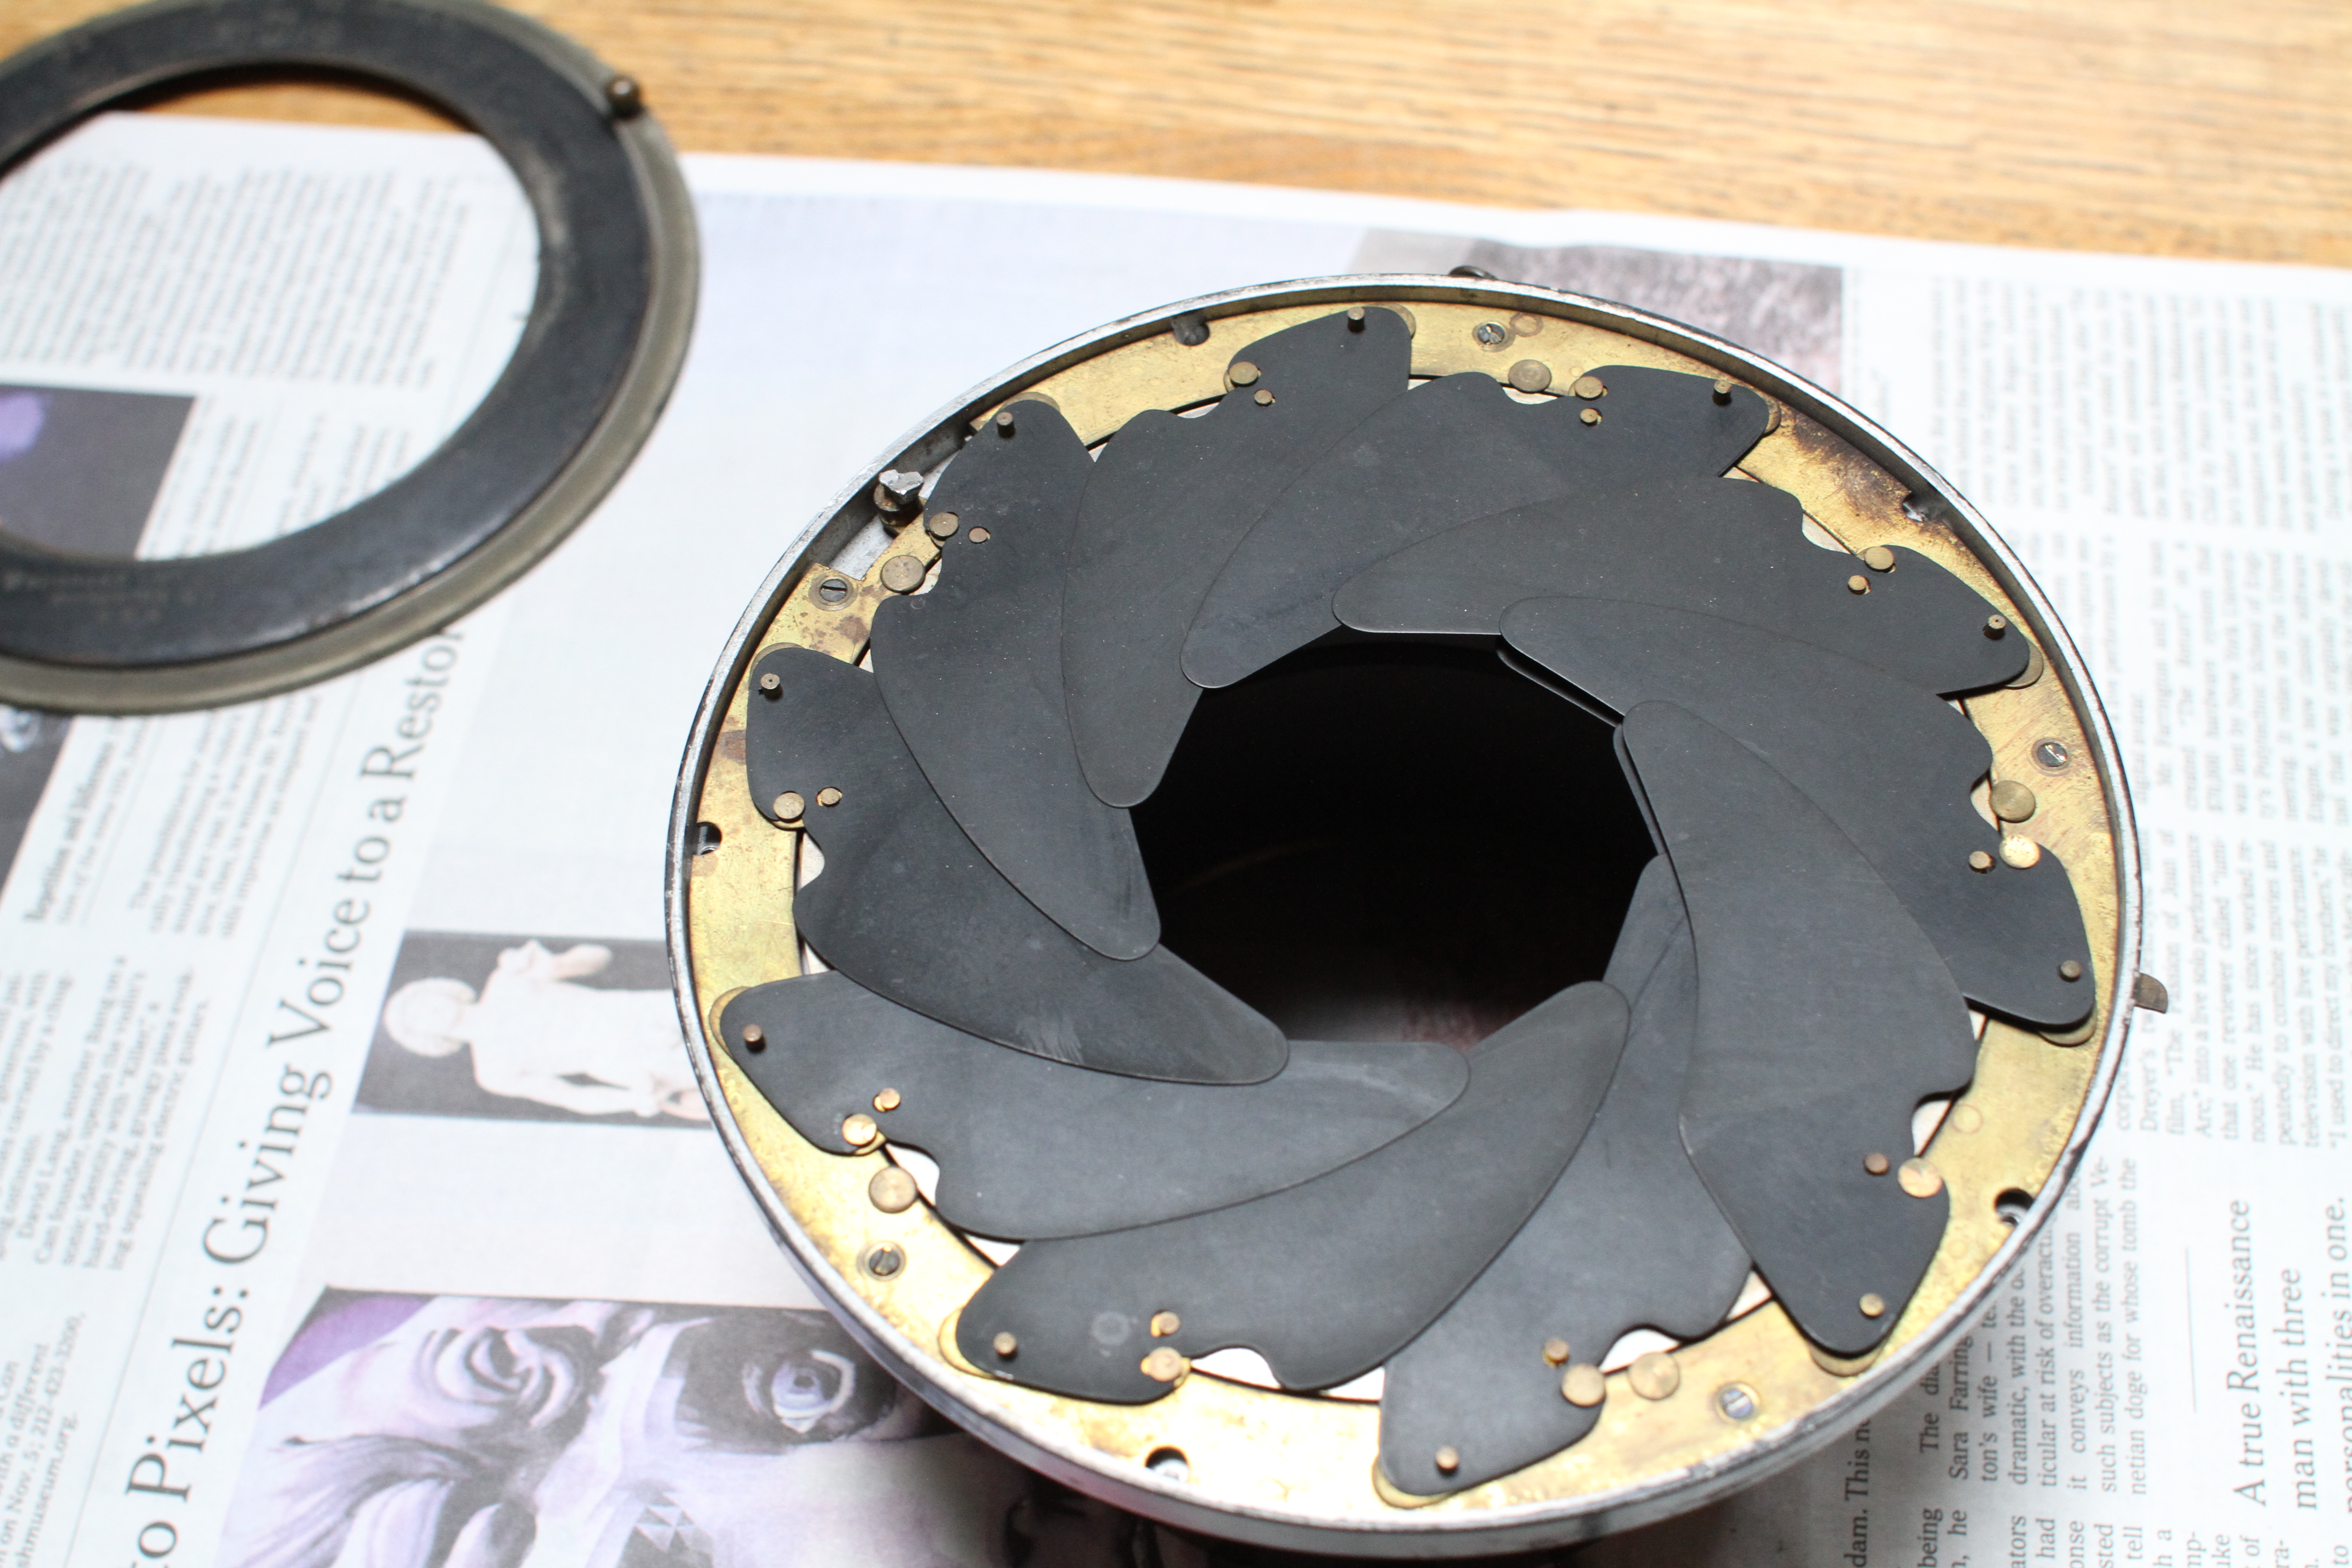
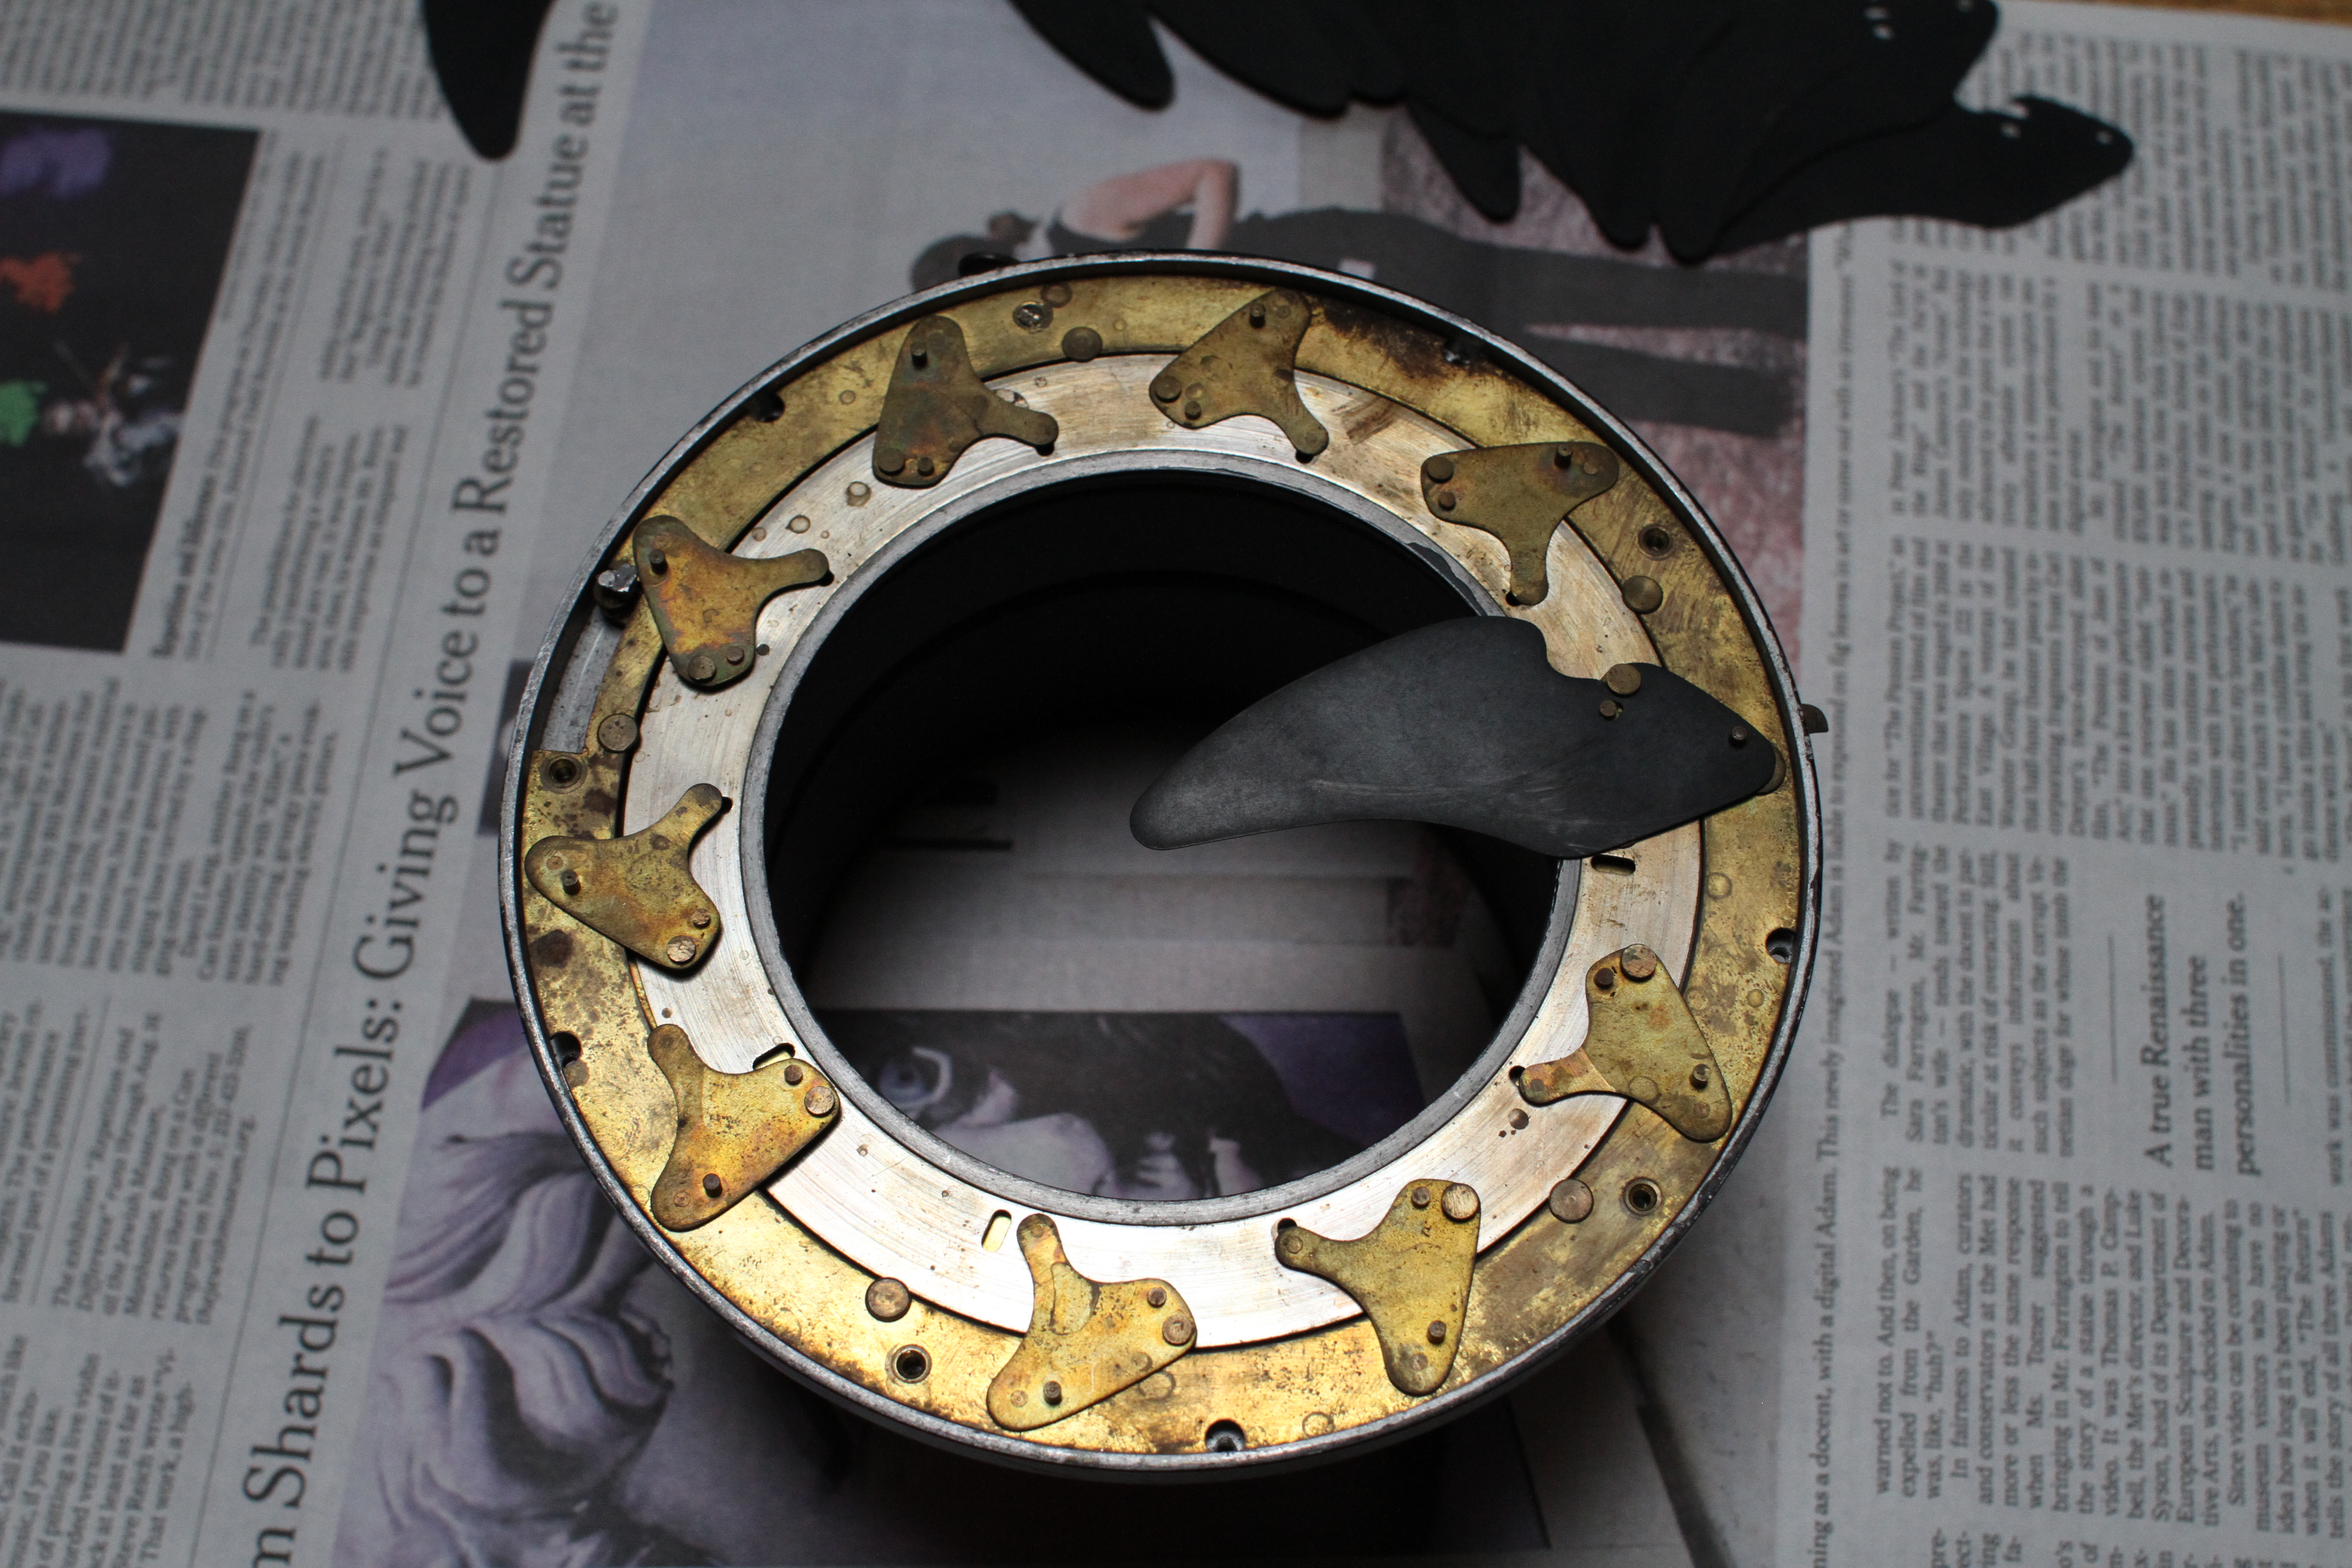
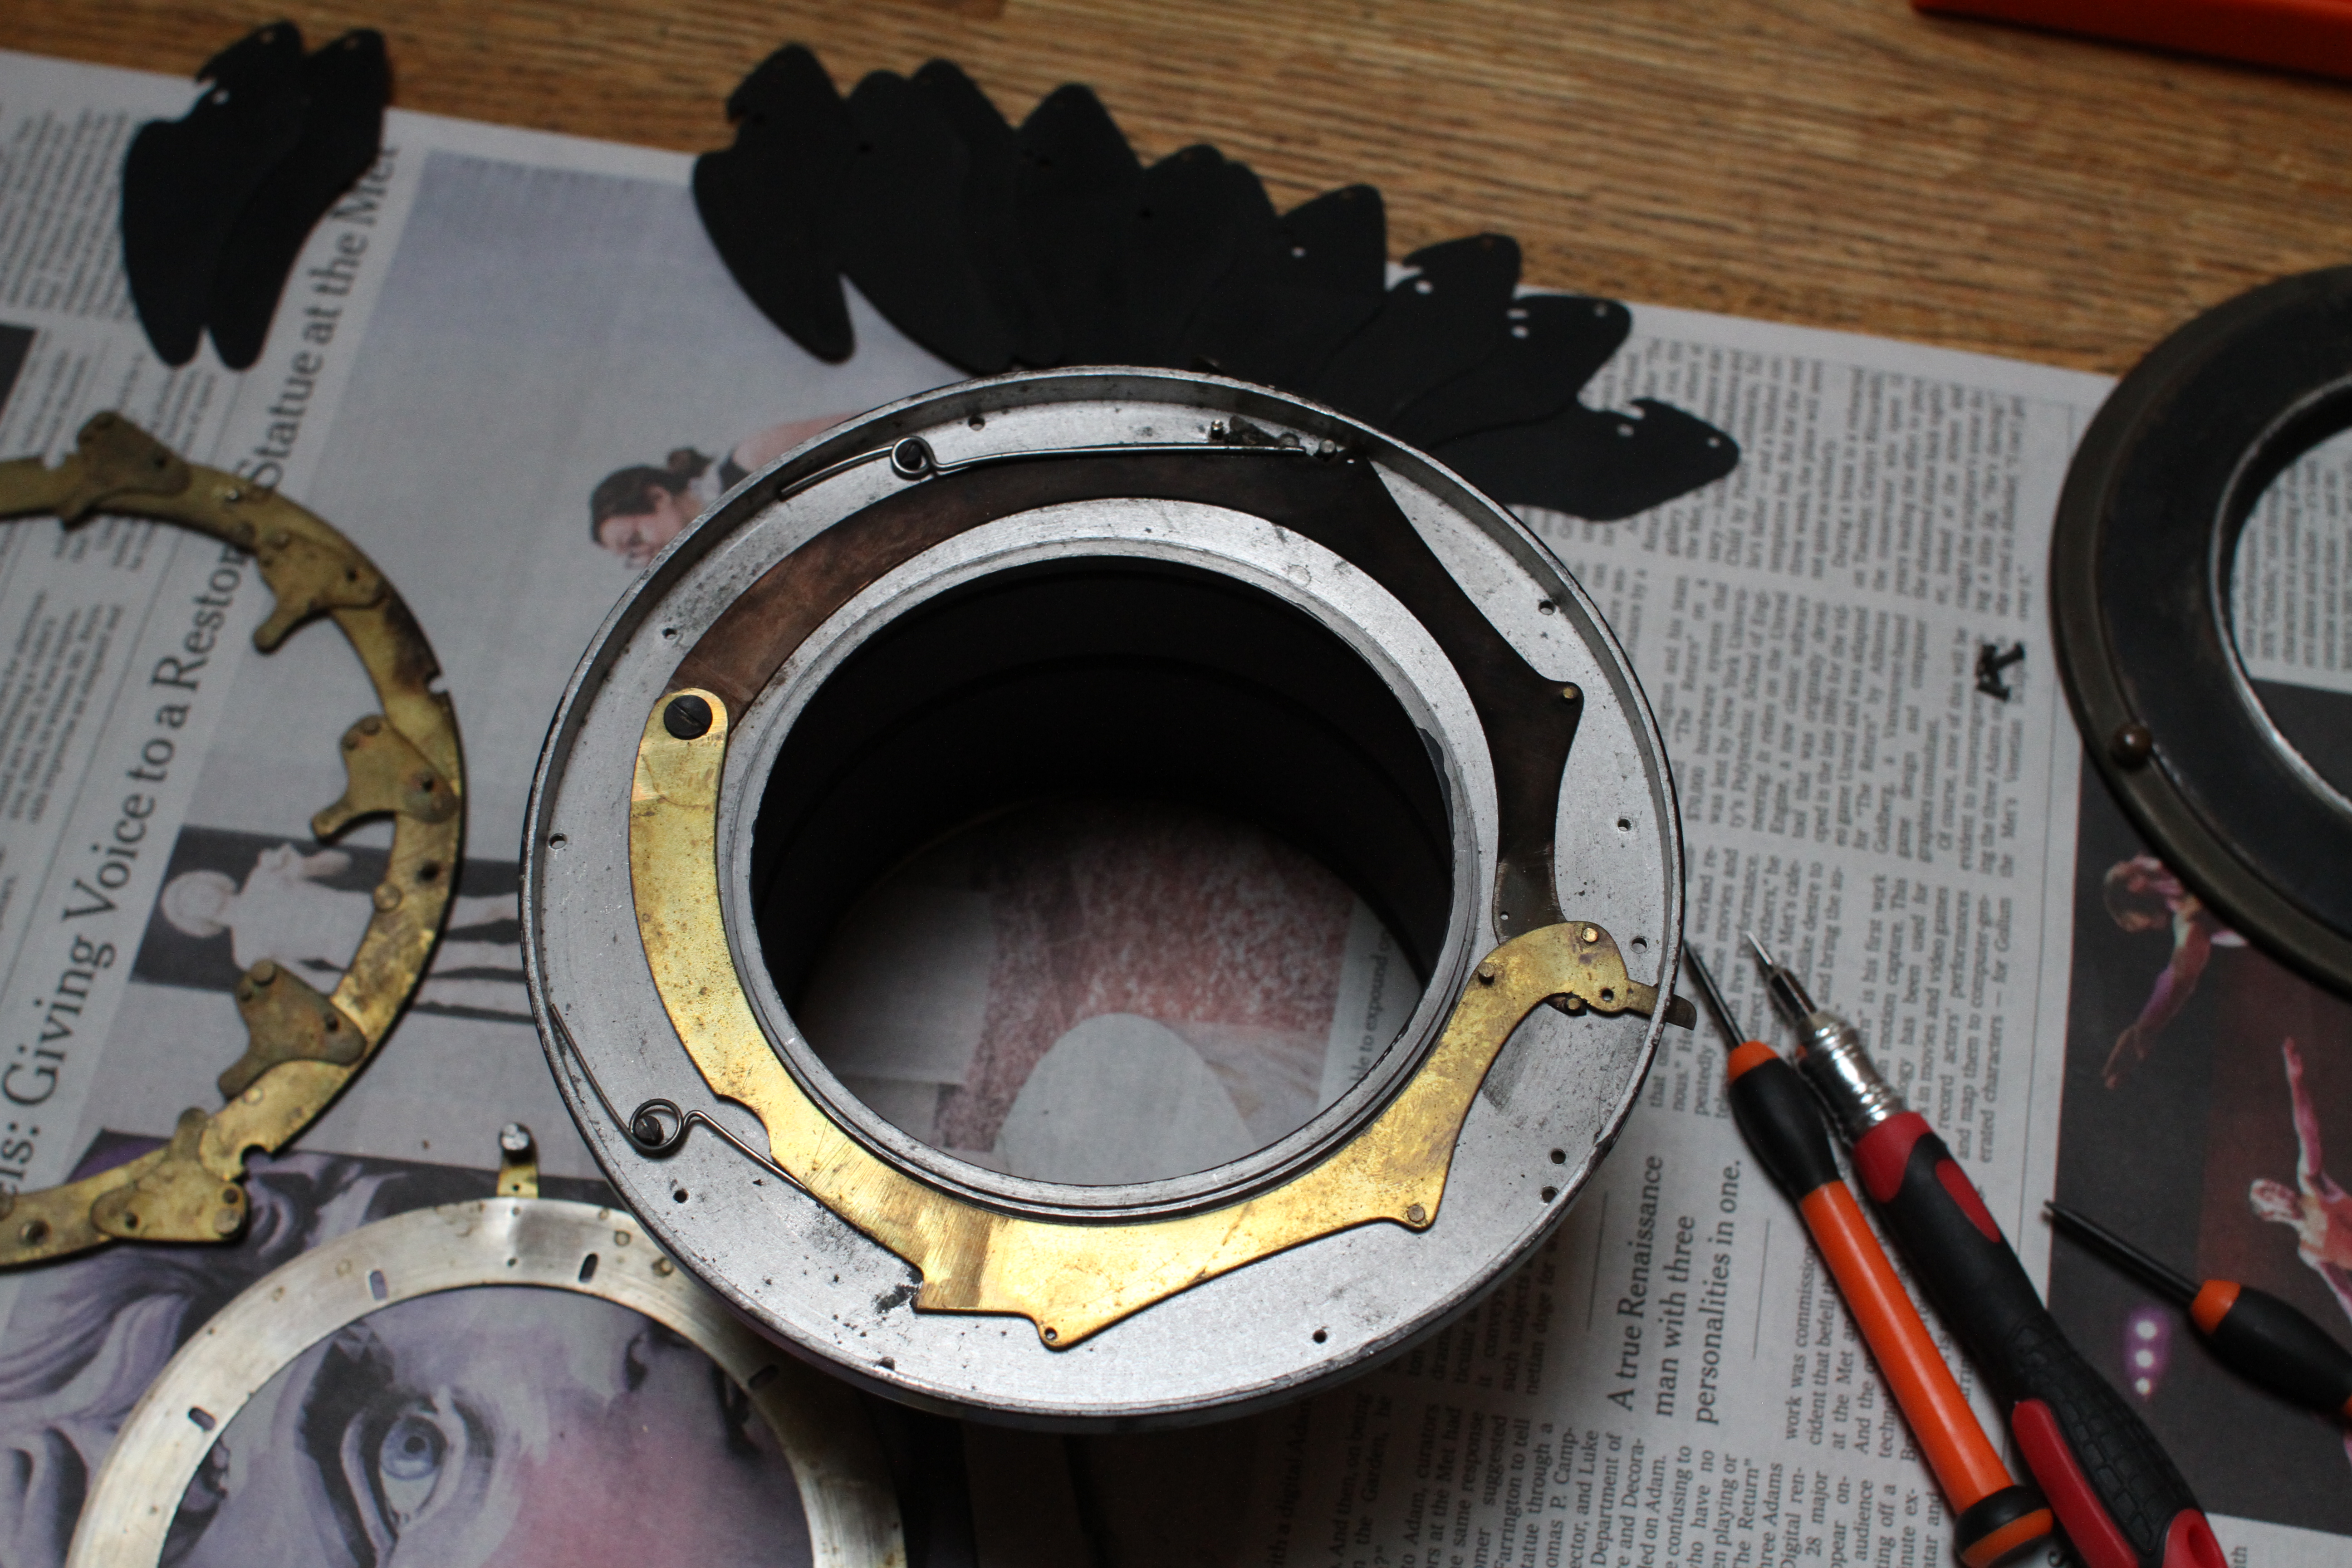
The studio shutter on my 14" Verito opened and closed well but only halfway so I opened it up to figure out what was going on. Because I couldnt find a good illustrated discussion of how to do this, I shot photos as I went. So, for future reference, here's the story:
The shutter, I think it's an older one?
IMG_4463 by Fotoguy20d, on Flickr
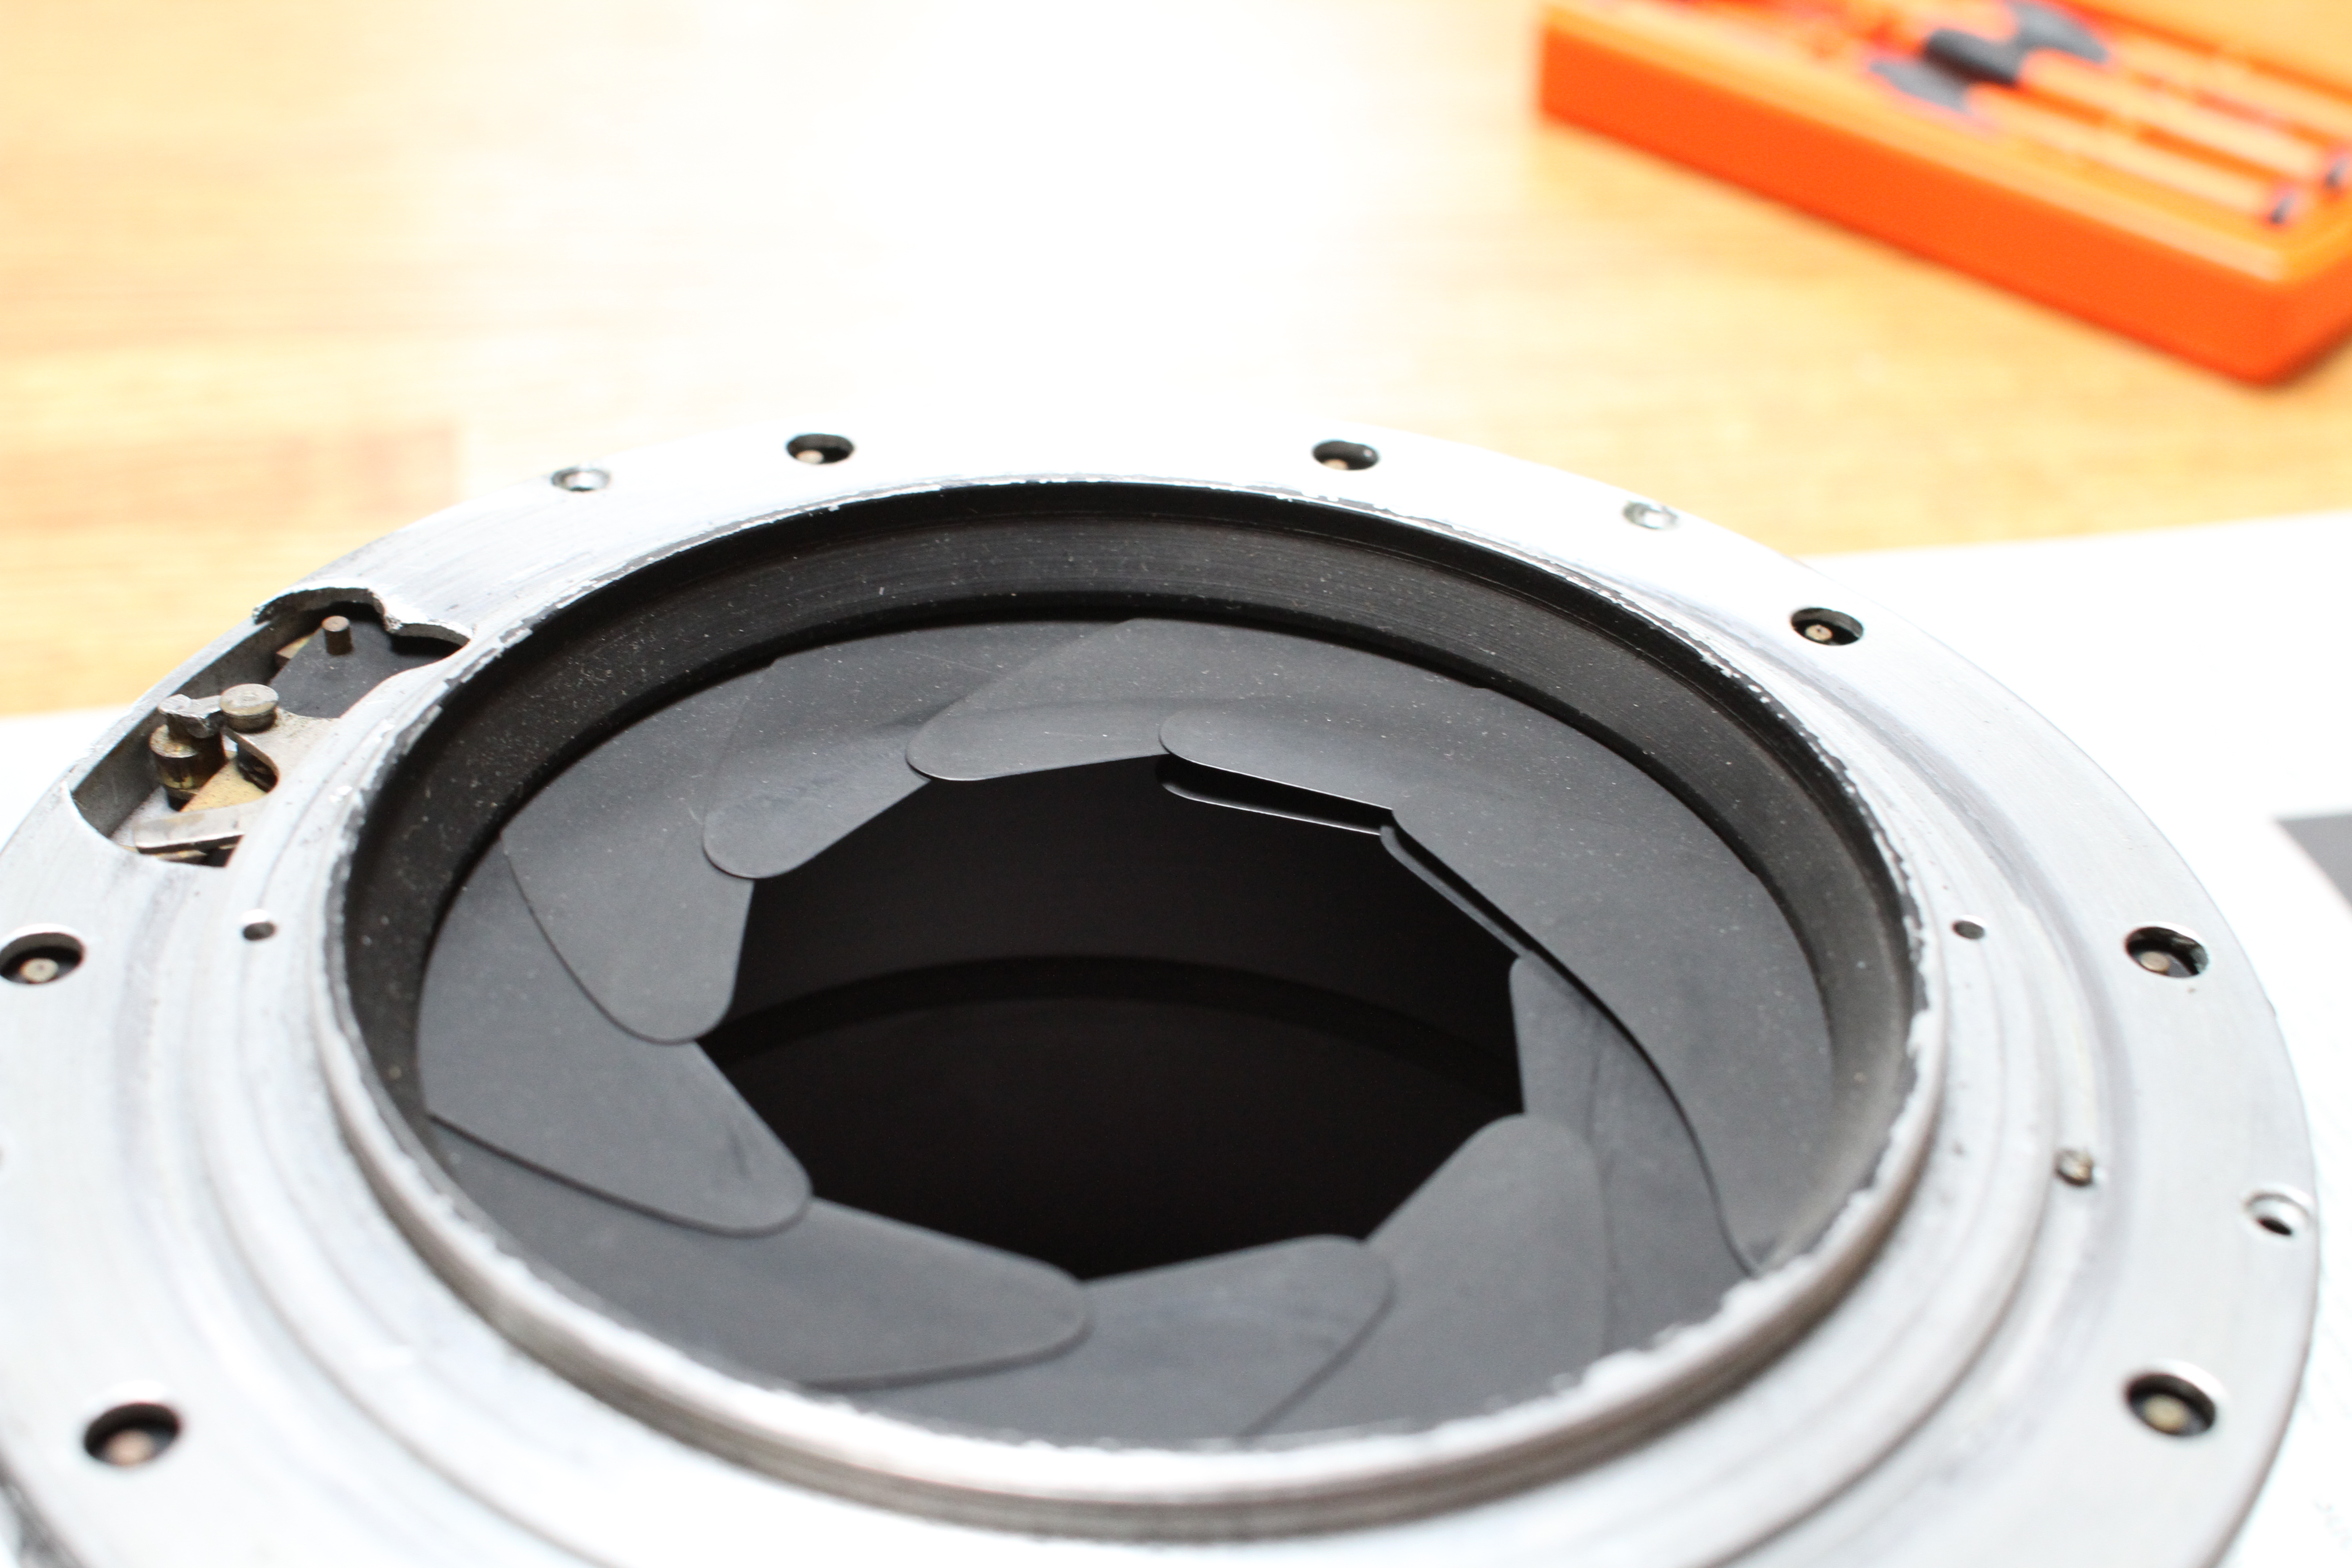
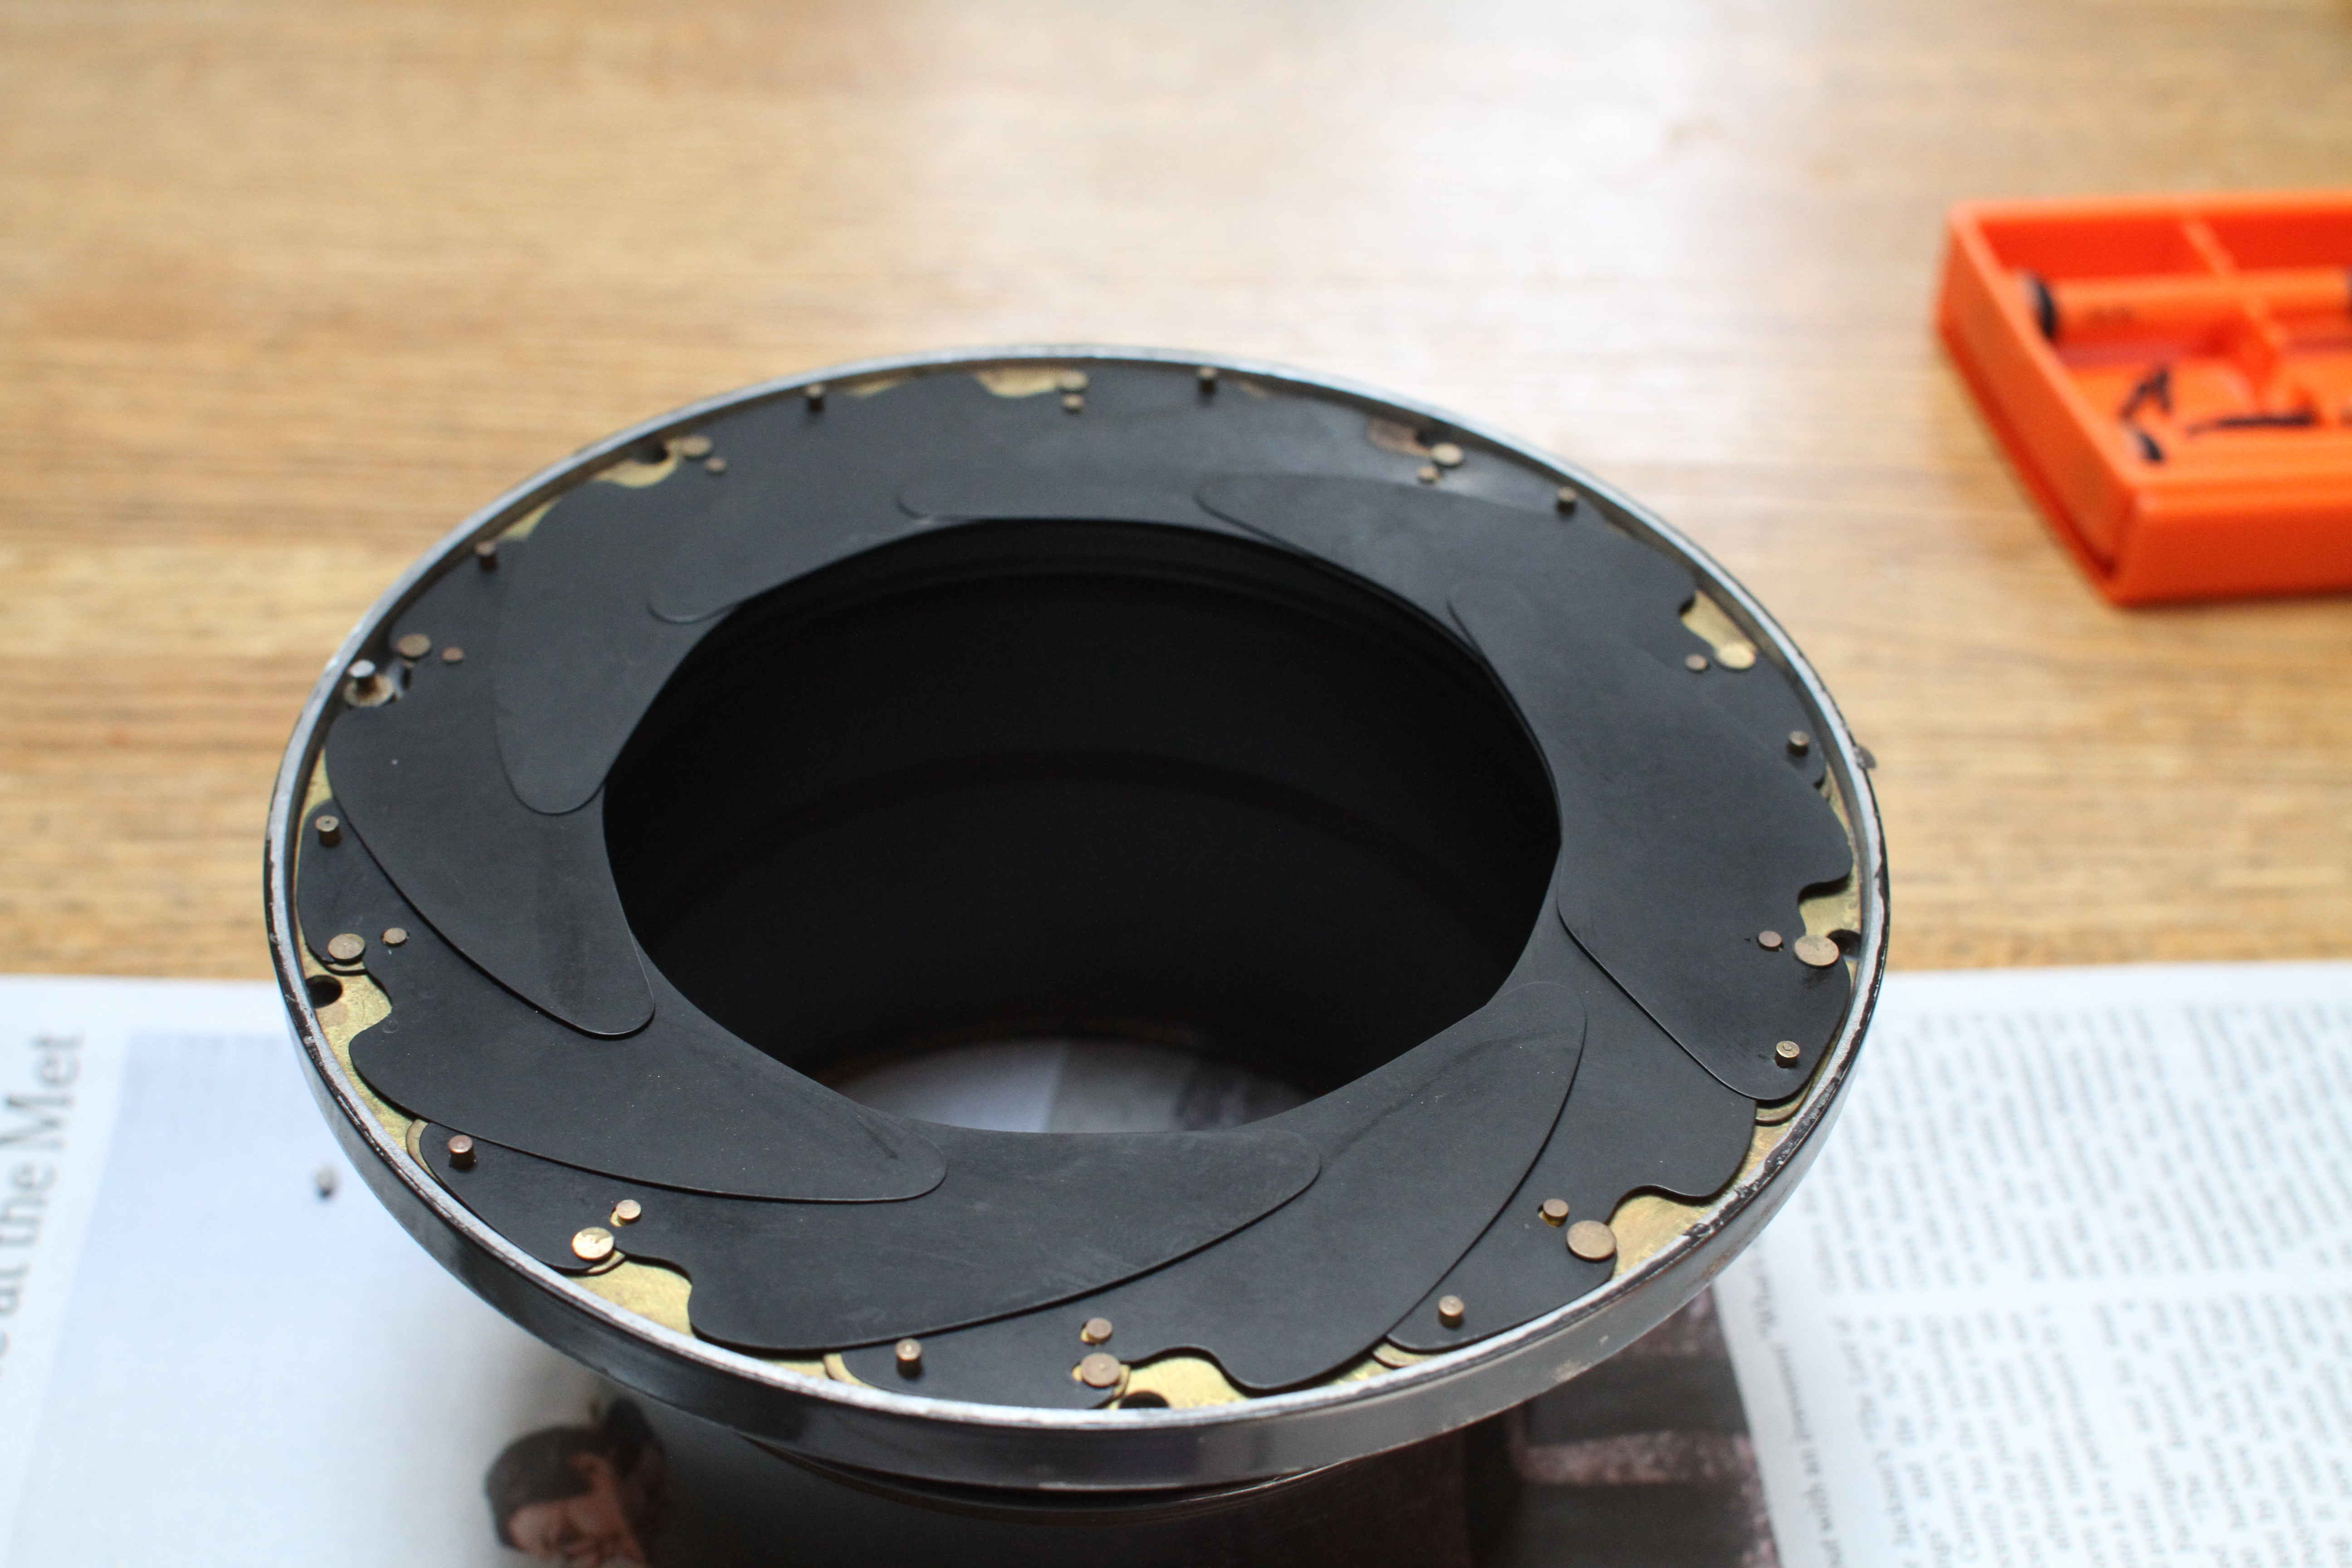
Only opens to here:
IMG_4375 by Fotoguy20d, on Flickr

 Reply With Quote
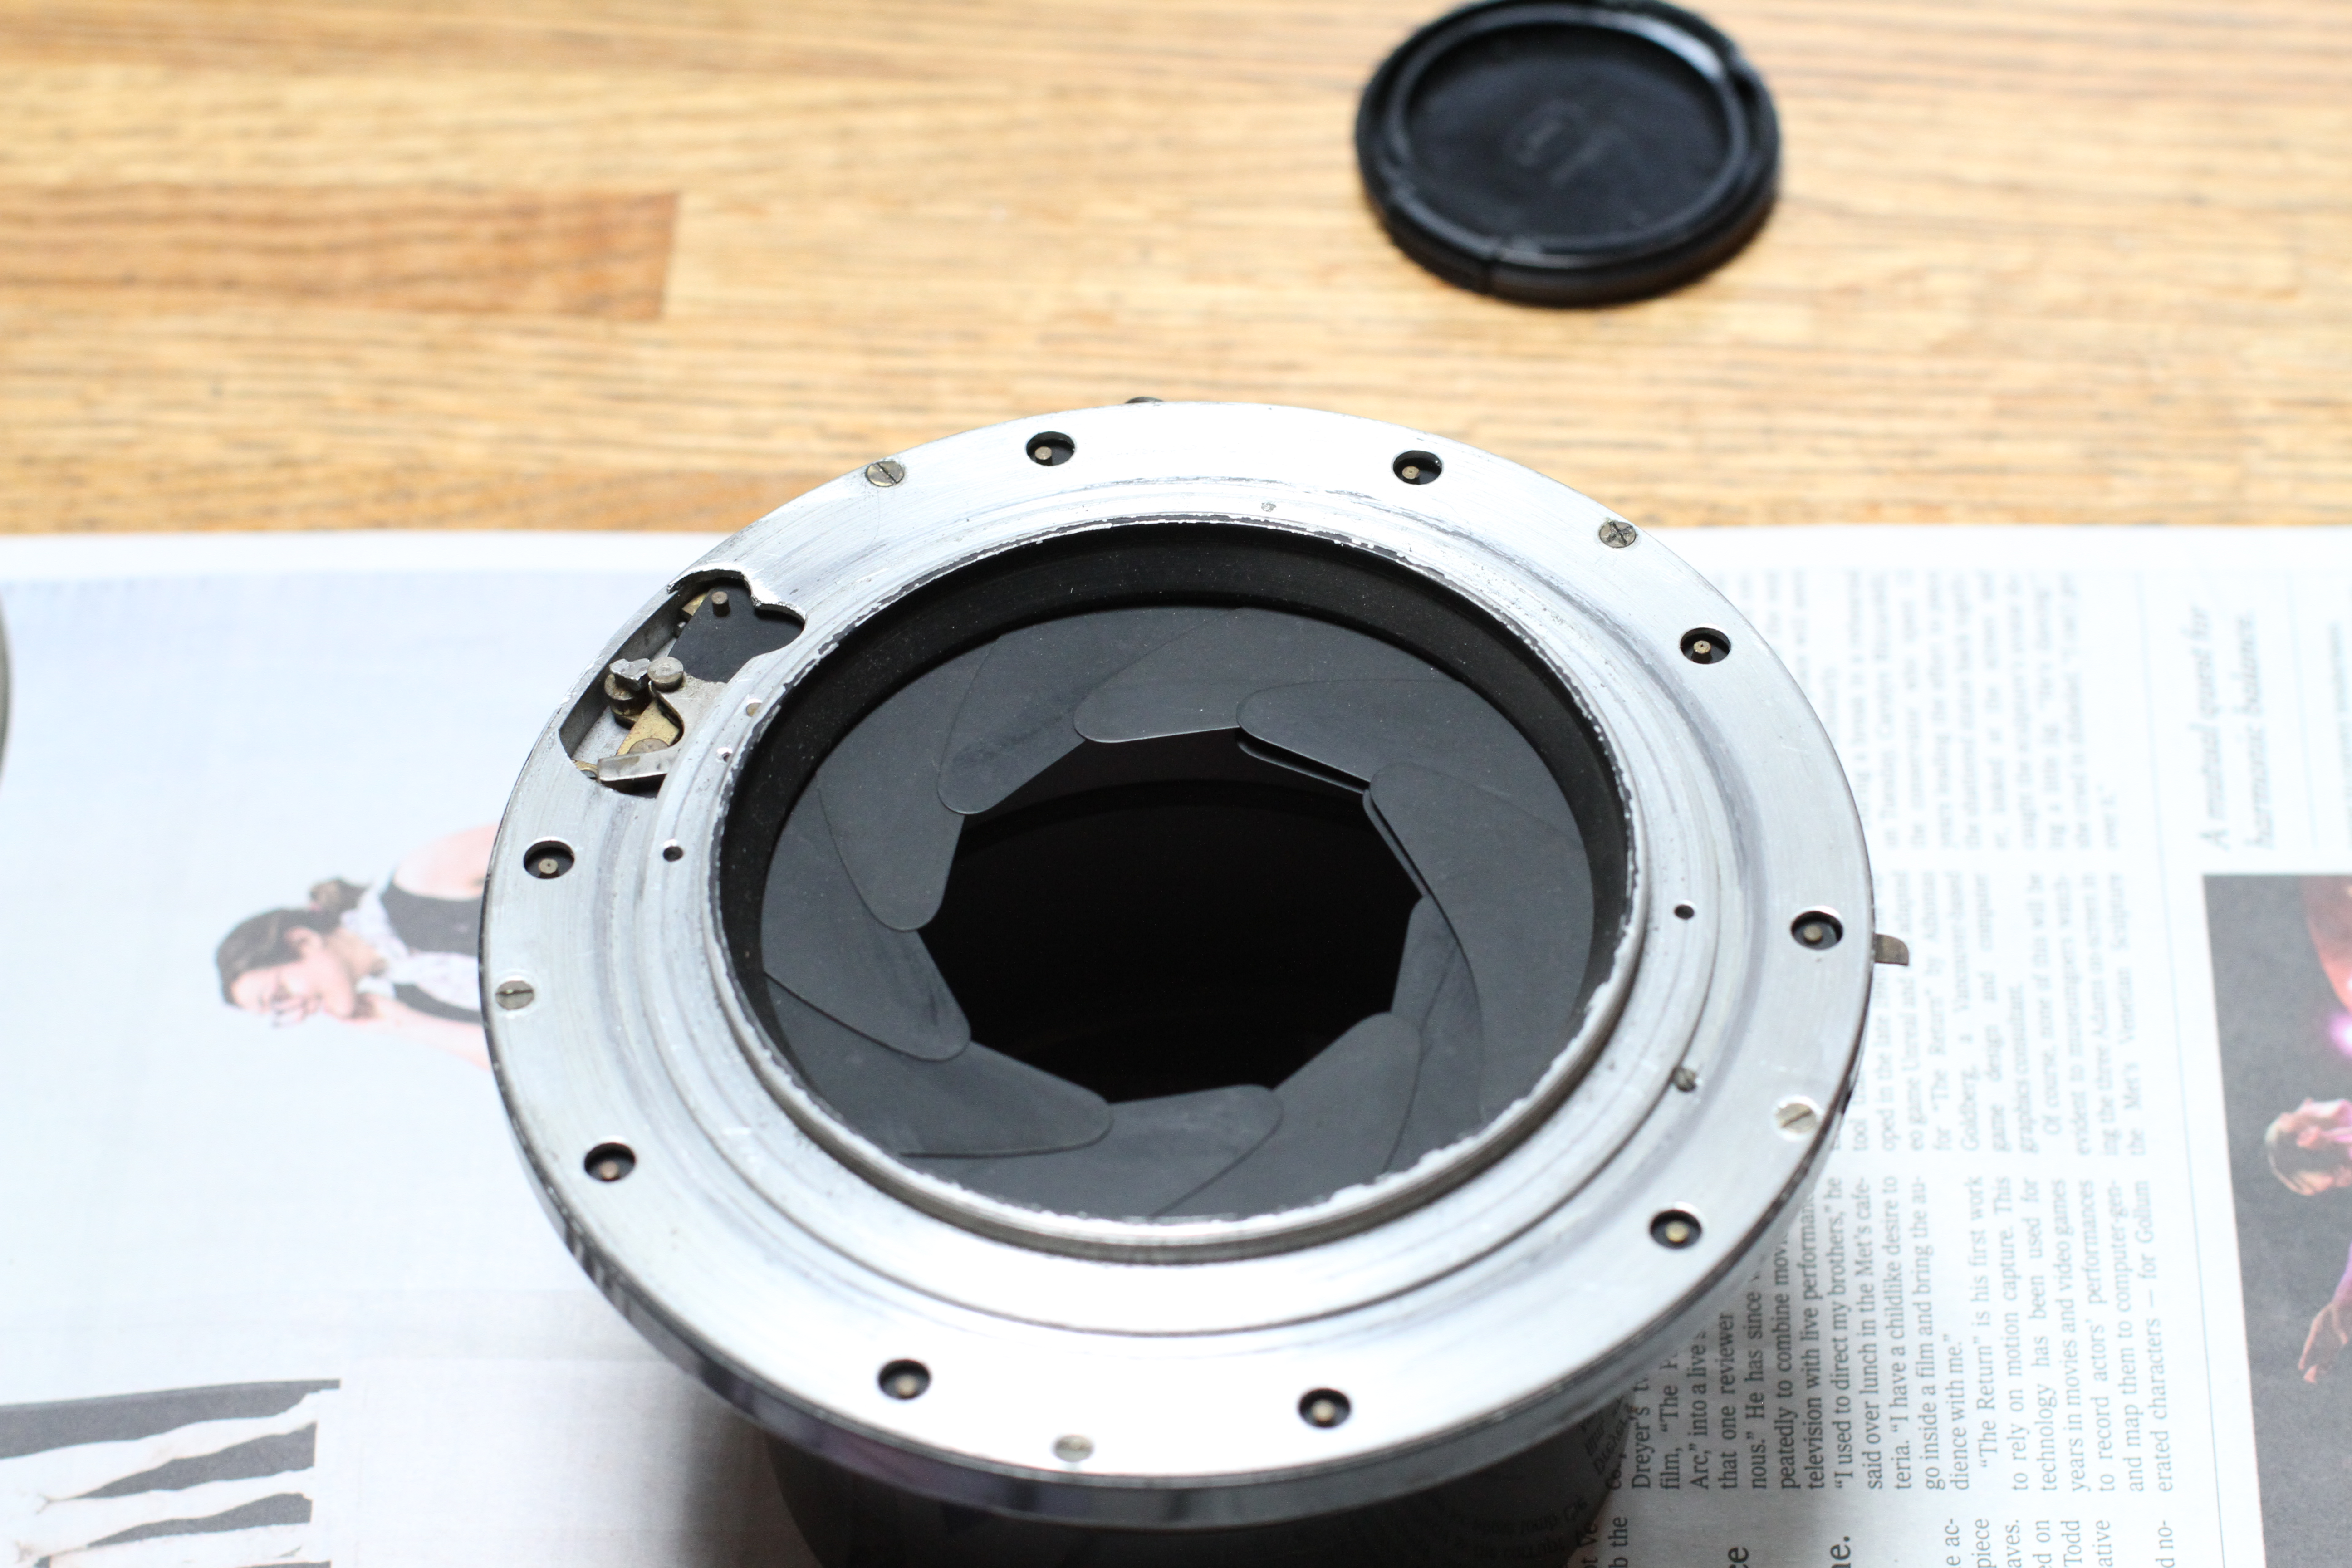


Bookmarks