


I would like to express my sincere thanks to Jim Fitzpatrick in particular and Sandy King who have both given advice and help on my journey into alternative photographic processes and in particular Carbon Transfer Printing.
I have so much to learn and have been guided fantastically by Jim and his experience and the PDFs he sent me and Sandy and his great document on Carbon Transfer Printing which I have read and digested many times in the last couple of weeks.
I started by making some Glop following the instructions of Jim and then proceeded to make some Tissues (no I didn't have a virus or depression, that is just what the transfer medium is called).
Jim warned against complacency and that there were many pitfalls just waiting to trip me up, but before I began each step I read (and re-read) all the instructions for that step until I had them fully off-pat. Jim was also very vociferous in his demands that I keep full and detailed notes as there are many variables within the processes involved that are just waiting for a practitioner to take their eye off the ball.
Well I started on Saturday with the making of my glop and then coating 4 sheets of synthetic paper with the glop to create my first tissues. This could have gone a bit easier but I did end up with something I could use and left them to dry for a couple of days.
Next came the sensitising and another new process and chemicals to get to grips with, again, Jim helped me through this part and it was completed without too many issues (apart from spending about an hour in an unvented darkroom using acetone and the raging headache that followed), again there is a period of drying before the next stage can begin, which is the exposure stage.
The tissue needs to be sandwiched with the negative (using a sheet of Mylar between them to protect the negative) and then inserted into a contact/vacuum frame depending on the size of the tissue to be exposed. It is then placed under a UV light source and a test strip (or experience if you have it) is made to determine the exposure in a similar way as to what happens when traditional silver printing.
Once the exposure (or test strip) is made the transfer stage takes place, this happens in a cold water bath and the tissue is sandwiched with the final support for the image, in my case this was 'fixed out' RC Multigrade Pearl, the sandwich is then removed from the water and pressed together under pressure which enables the transfer to take place. After a period of time (not less than 30 minutes) the sandwich is released from it's pressure plate and the development can begin.
The development stage is carried out using hot water at a temperature of between 105 and 120 degrees, the tissue substrate is peeled off and the unhardened gelatine is washed away by the hot water, the carbon that was exposed to UV tissue hardens and is not washed away by the hot water.
Once development has finished the print is placed in a cold water bath to set the image.
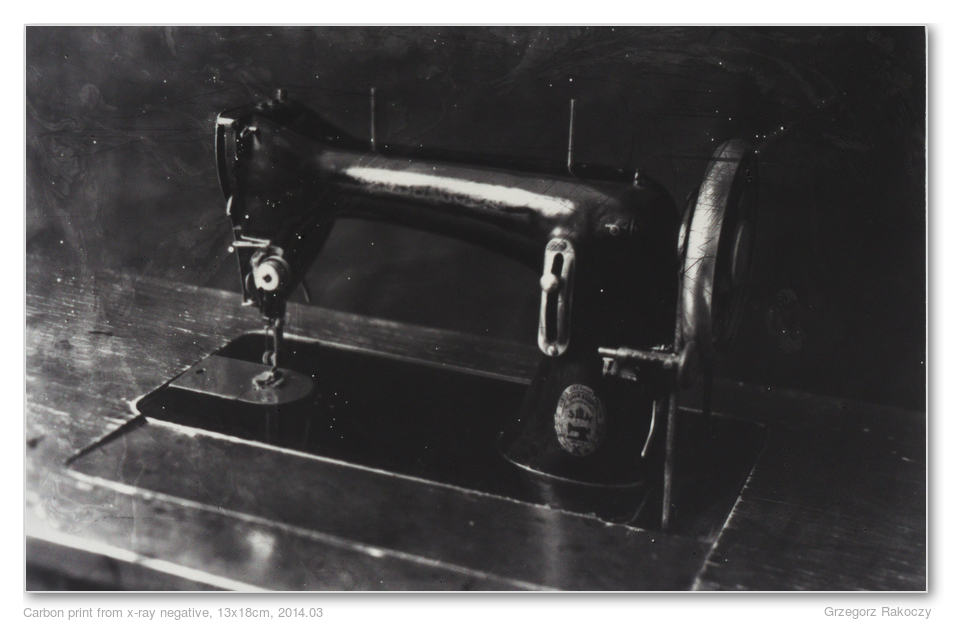
Anyway, back to my first Carbon Print I am reasonably happy with:
Carbon 3 by Ed Bray, on Flickr

 Reply With Quote
 well done!


Bookmarks