


The more powerful the solvent, the less times you need to wipe your lens surfaces. The more the wiping, the more the trouble and the more the risk of leaving cleaning marks.Originally Posted by j.e.simmons

Ether is the best solvent for lens cleaning (add about 10% of ethanol to slow down the ether evaporation. For pure ether, it's too fast). When I made a lot of formal lens tests, that was the only solvent I used for the glass cleaning. But ether is a medical narcotic so it's not easy to obtain in the wast majority of the world. So for practical usage, I clean my lenses with acetone.
Acetone is the second best solvent for the task that I know of - a great solvent that is pretty cheap and usually easy to buy.
Ethanol (the 96° common alcohol) is usable but much less effective then acetone. With ethanol, you have to make much more efforts rubbing your lens and still have quite a bit more dirt left on the surfaces after cleaning.
That's why those people add ammonia to their ethanol-based solvent. Being an alkali, ammonia engages into a chemical reaction with the oily substances that alcohol can't dissolve fast enough. Oil + alkali = soap, and soap is far easily soluble then the original oil. But beware alkalies can dissolve the glass itself (though that's a very slow process). Better use acetone.
Why they sell a stuff like this? Because their goal is to offer a solvent that's usable for cleaning a lot of surfaces, not only the glass ones. A lot of plastics are readily soluble in ether and in acetone. Those include some of my own plastic-lens reading glasses (not all of them; I've actually ruined a pair but regularly clean the rest of my batch with acetone), the Canon EOS SLR eyepiece lenses, and so on. Besides, ether and acetone dissolve the vanish that's used in older generations of lenses to blacken the barrels' and shutters' metal parts. Unless you lens in modern, avoid touching its black metal parts with acetone. It also dissolves the Canada balsam that's used in the older lenses as an optical cement. Don't splash a pool of acetone on your lens to let it go inside right to the edges of the cemented elements....
And - never touch the cotton wool you use for lens cleaning with your bare hands; human skin may have more oily stuff on it than the glass you want to clean.

 Reply With Quote
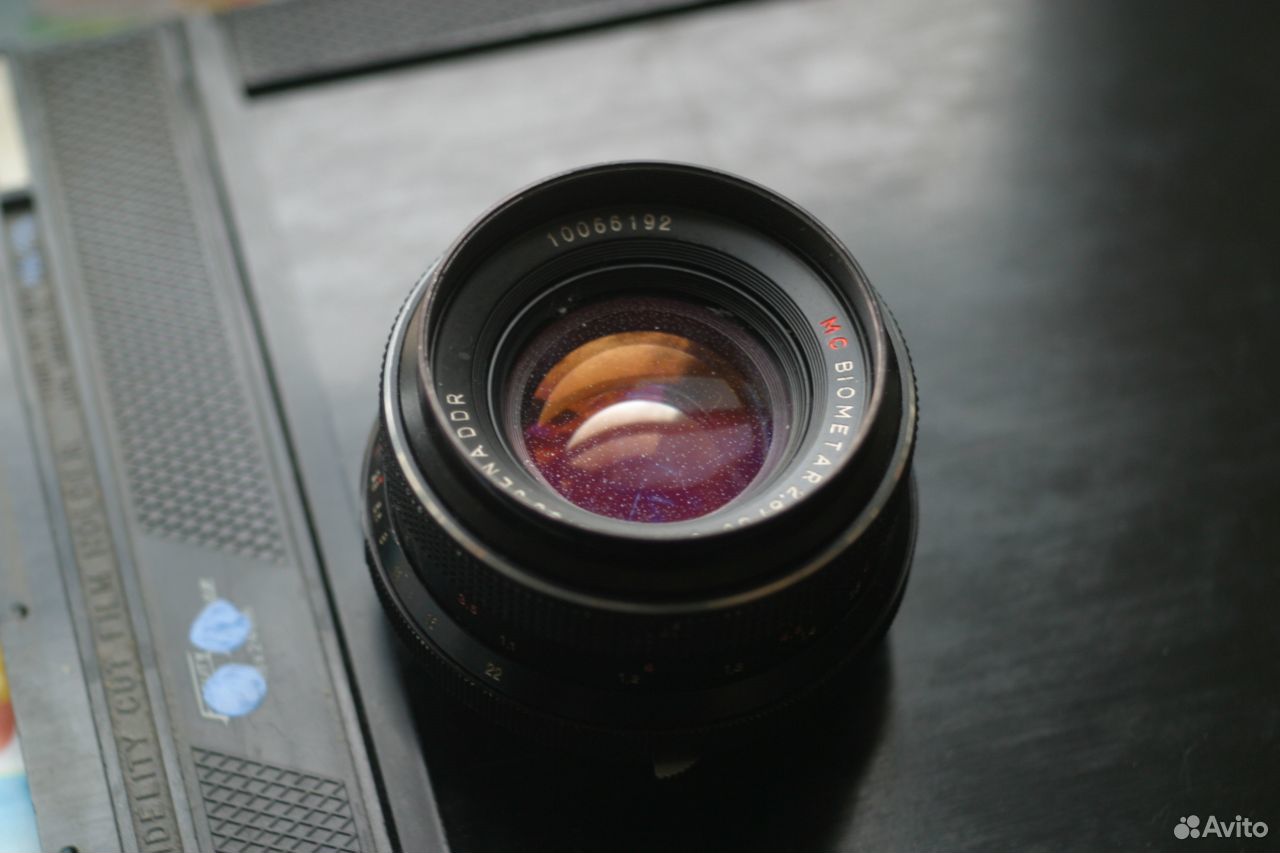


Bookmarks