
Here's one from me:
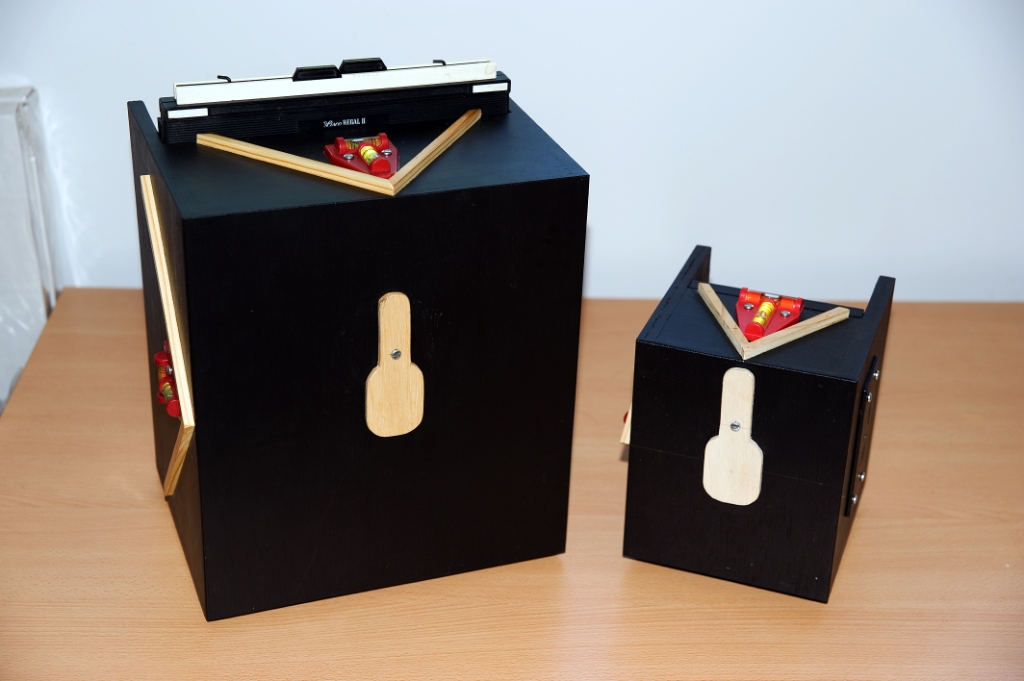
Here is the 8x10 I made, with its 4x5 brother:


Here's one from me:
Here is the 8x10 I made, with its 4x5 brother:

The film was against the inside of a Pringles potato chip can, and the pinhole was centered in the cap. Since the exposure was much greater near the pinhole, the 10 to 100 second exposure was controlled by sliding a tube up the outside of the can. The sidewalk upon which the tripod stood is visible on the right and left edges of the photo.
That's wild, Jim!
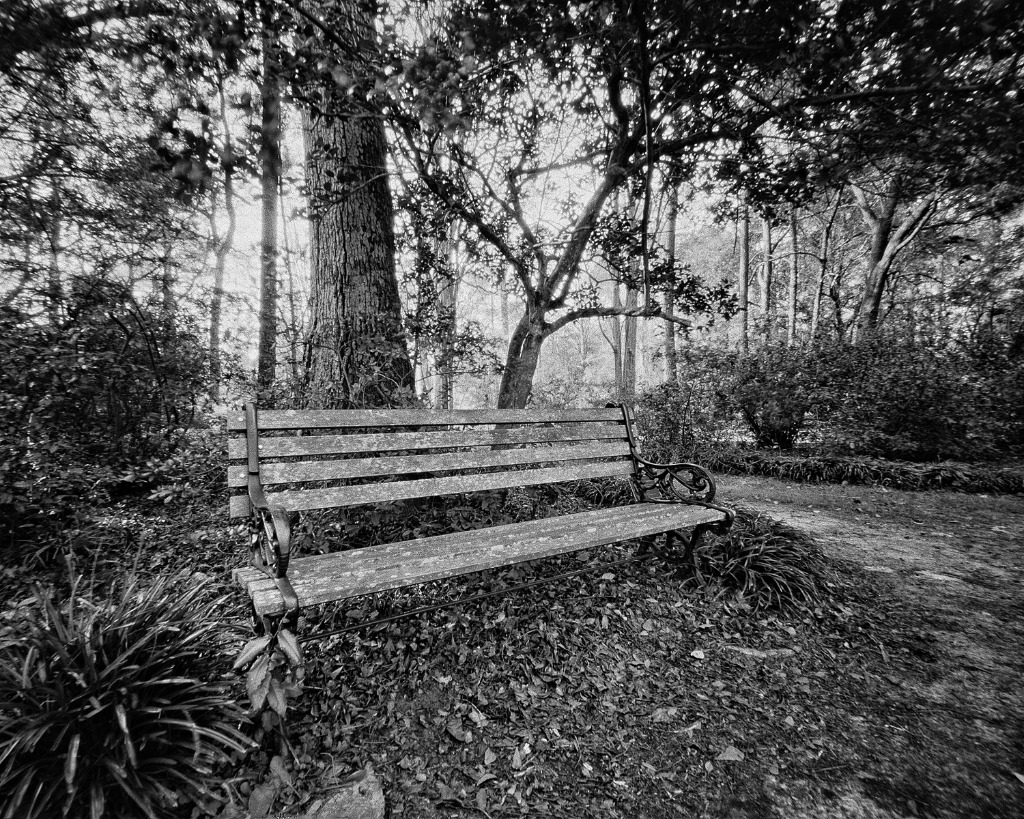
Interesting approach...Bill Brandt would approve.
Wow... Can you put a photo of the setup and explain a bit because I can't follow very well your explanation of controlling the exposure by sliding a tube on the outside. But this is really psychedelic and looks like great fun.Originally Posted by Jim Jones

Expert in non-working solutions.

Again: Great Stuff!
Anyone doing pinhole imaging in formats larger than 8x10?
Anyone doing pinhole imaging with dry plates?
Drew Bedo
www.quietlightphoto.com
http://www.artsyhome.com/author/drew-bedo
There are only three types of mounting flanges; too big, too small and wrong thread!
11x14" big brother/sister to the 8x10 pinhole camera I posted earlier. Still in the process of shooting with different pinholes to find the optimum one. I use sheets of 4x5" film taped to the inside an 11x14" film holder to save $$$. Film back is also a wooden B&J one off of a process camera that was gratefully purchased from another member of the FORUM. First time I took out the 11x14 hiked to a waterfall (same as the one I posted earlier) and shot 2 sheets of 11x14" film. That evening processed them and both came very, very thin. Checked the camera's pinhole and a minute spec of black flocking or paint was partially blocking the pinhole. So replaced the GG with a clear sheet of plexiglass which now enables me to check that the pinhole is open and clear before shooting film.
The camera is long gone. Pringle cans aren't the most durable camera bodies! A tripod socket was mounted in the bottom of the can. In this picture, the top of the can was aimed at a point about 1/2 inch above the top center of the image. Since the film around top of the can was much closer to the pinhole than at the bottom of the can, it received stronger light during the exposure. I blocked this light by sliding a somewhat loose fitting opaque sleeve up the Pringles can during the exposure. At first this blocked the wide angle light from reaching the pinhole and exposing the film near the top of the can. As the sleeve rose higher, a narrower angle of light reached the pinhole. The movement of the sleeve was faster at first and slower towards the last of the exposure at an approximately logarithmic rate. Fortunately, my rudimentary mathematical skill sufficed to calculate this without wasting film. Due to the size of a Pringles can, the film was cut to slightly less than 8x10.

I have spare 11x14 camera that would be fun to set up for that. Not the most stable thing for long exposures though. It won't be anywhere near the top of my to-do list...but an interesting thought...have some questionable film to play around with, too.
"Landscapes exist in the material world yet soar in the realms of the spirit..." Tsung Ping, 5th Century China
Ok, got it! I really like it, think I'll try it. Got enough plastic and metal pipes around to give it a go. When the weather is better, I'm not really an outdoors person.
Expert in non-working solutions.
Wide angle LF pinhole negatives make good contact prints. A pinhole is a lot cheaper than a good wide angle lens. It may not form as sharp a image as a lens, but sometimes that is good. A lack of sharpness certainly didn't intimidate Anne Brigman in her lens photographs long ago. As the focal length of a LF camera increases, so does the diameter of the pinhole and the lack of sharpness in the image. This bothers some of us. It only takes a few minutes to make a good pinhole (with a bit of practice). Try it!.
 Posting Permissions

 Reply With Quote
Bookmarks